How to Master the Motion Blur Photo

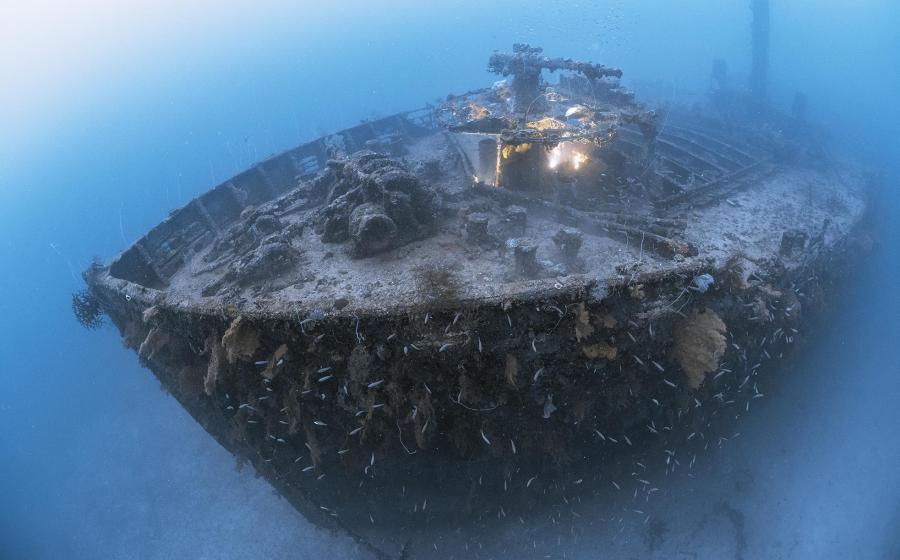
This image was captured with a Nikon D780 at a shutter speed of 1/3 of a second using rear-curtain sync. The slower shutter speed combined with speedier subjects makes for a faster-looking, more chaotic motion blur.
The goal of traditional photography is to capture a tack-sharp, crisp image. Photos with blur are typically sent to the digital wastebasket. Shooting intentionally to capture blur puts this idea on its head. This type of shooting adds drama and an artistic flair to photos, differentiating them from conventional images. Shooting to capture motion blur is also just plain fun and a great way to get a little weird with image-making.
Gear for Motion Blur
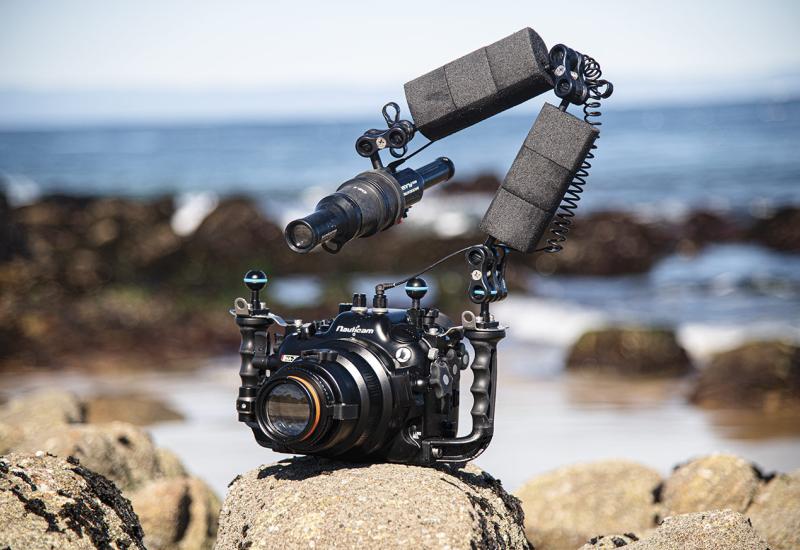
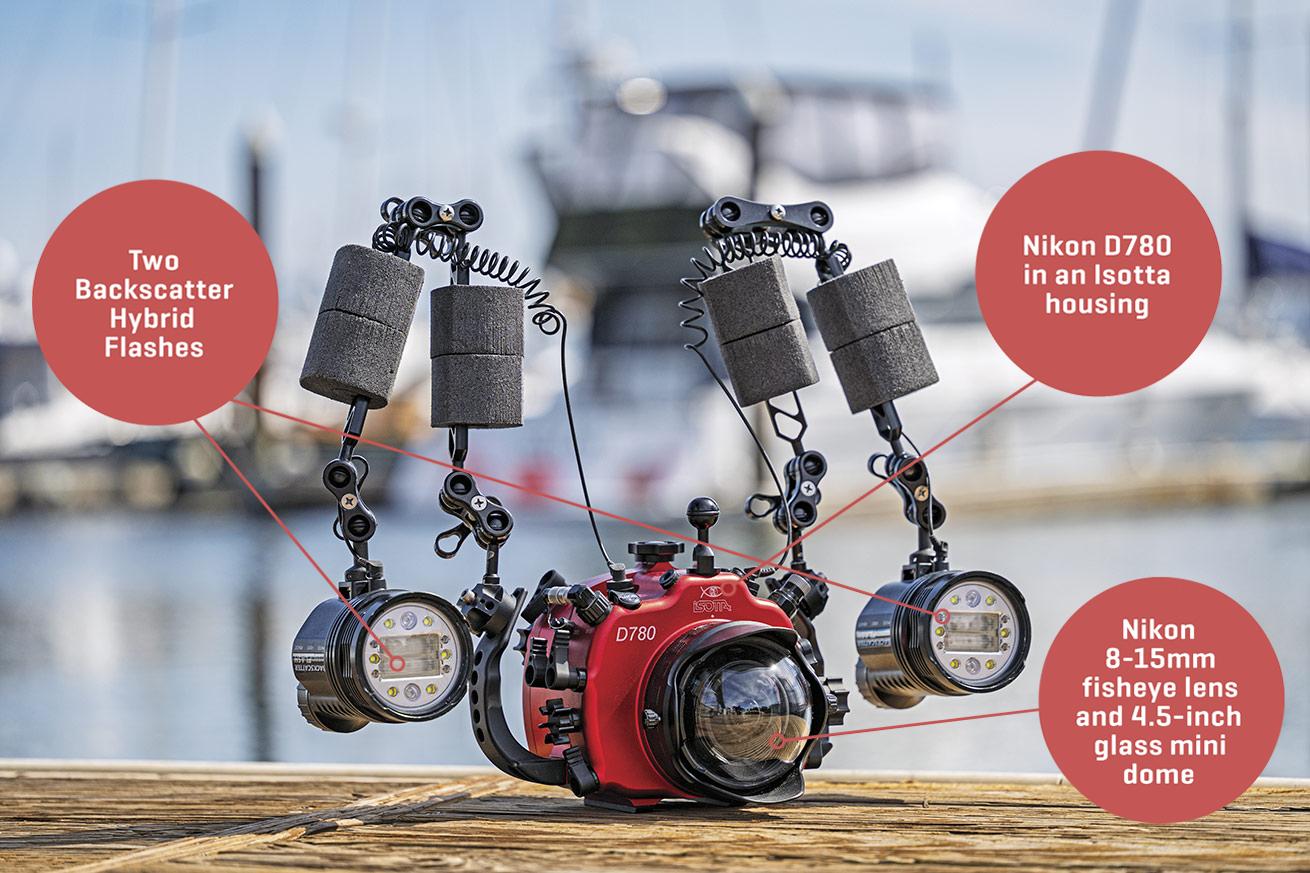
Certain pieces of equipment can help you best capture motion blur. The first thing you’ll need is a camera with full manual control. Cameras that do not have direct control over their shutter speed will make capturing motion blur nearly impossible.
This column will focus on wide-angle shooting, so a good wide-angle lens is essential. This can be a fisheye, rectilinear (non-fisheye) wide-angle lens with a dome port, or a wet wide lens. In addition, you’ll need to use flash to freeze the subject. I recommend using two bright, powerful flashes for this kind of shooting. The more light you can dump on your subject, the better you can overcome ambient light and freeze your subject.
Related Reading: How to Photograph Tide Pool Split-Shots
Settings for Achieving Motion Blur
The settings you use will depend on the available light. First, let’s consider the camera’s flash sync mode and its effects. There are two modes for motion blur, front-curtain and rear-curtain sync. Front-curtain is the default when using fill-in or manual triggering. In this mode, the flash fires at the beginning of the exposure. This freezes the subject first, with the blur appearing after, and often in front of, the subject. This can look less natural. It’s best used when panning in the same direction the subject is moving so the blur appears to be behind the subject.
Alternately, rear-curtain sync means the flash will fire at the end of the exposure, freezing your subject last. Since the subject is frozen last after the motion, it tends to appear more natural, with blur trailing behind. It’s still best to pan with the subject’s movement if you plan to have blur following it. Both types of sync have their merits; be sure to play around with both if they are available to you.
The darker your environment, the easier it is to pull off motion blur shots with less extreme settings. Assuming you are shooting in bright daylight, the goal is to stop down your aperture and ISO to counteract the slow shutter speed. A high aperture and low ISO will restrict light reaching your sensor, as the slow shutter speed will let in a ton of ambient light, making it easy to overexpose.
Start with your camera’s lower ISO (typically 100-200), and a higher aperture such as f/16 to f/22. Your shutter speed will create the motion blur effect and is much slower than normal. Expect to use shutter speeds of 1/30 to 1/3 or slower. Faster subjects will require less blur than slower ones, and the slower your shutter speed, the more prominent the motion blur will be.
For flash settings, you’ll need to use higher power levels to overcome the extra ambient light being let in by the slow shutter speed. Darker conditions, such as dawn, dusk or low visibility, require less extreme settings and sometimes lower flash powers, making capturing motion blur much easier. It will take a few test shots to nail the motion blur effect you want. Be sure to play with all the settings to get the type of shot you’re looking for.
Motion Blur Techniques
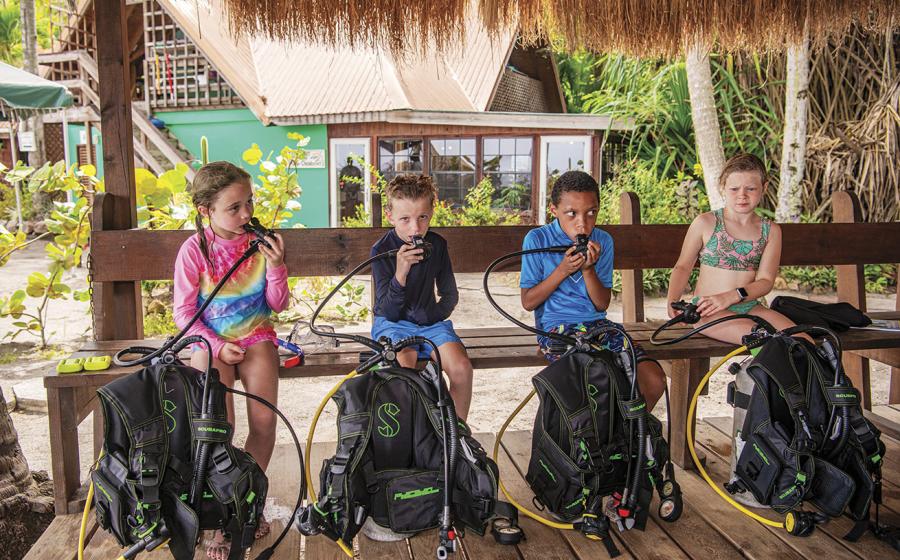
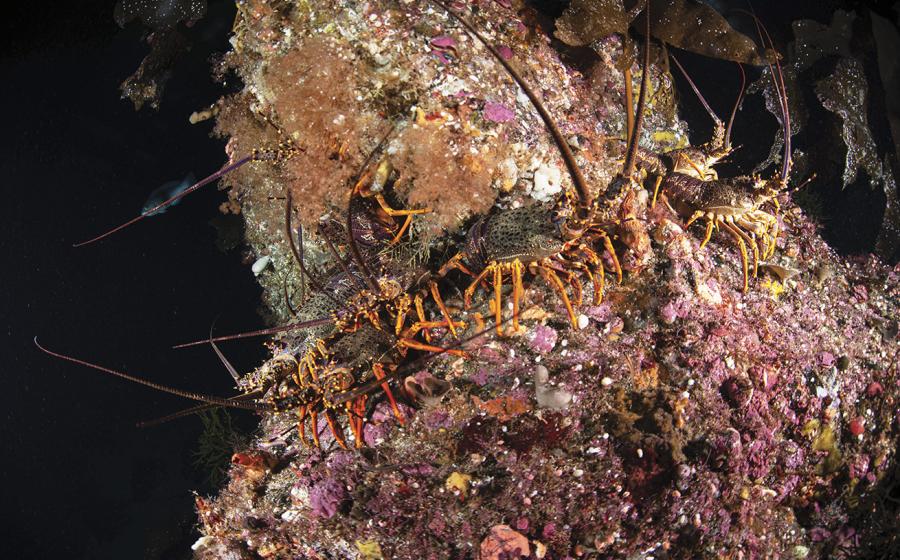
With the settings ready to go, now it’s time to see what cool effects you can create! Find moving subjects, like schooling fish, agile sea lions or fast pelagics like sharks and swordfish. Really anything that moves will work, including kelp swaying in surge. Make sure you can get close enough that your flash reaches your subject. This is critical to freezing the subject in the image. Once you have located your subject and you’re close enough to light it, shoot using your jump settings and review. Check to see if the image is overexposed and if the blur is to your liking. Make any adjustments if needed. It may take a few shots to dial your image in.
You can also introduce shutter drag into your image. This is when you move your camera while the photo is being taken. Panning with the subject creates a more natural blur look, while moving against the direction of the movement creates a more exaggerated and abstract appearance. You can also rotate your camera for a swirly “spin shot” for circular blur. This effect is great for all kinds of subjects, but can be extremely complementary to circular subjects like brain coral, anemones or even for selfies! You will need to pan your camera pretty hard. More of a quick jerk of the camera is needed to make the blur more pronounced.
Be sure to dedicate an entire dive to capturing motion blur photos to get plenty of practice in and capture more keepers. Check out how your images look in both color and black-and-white for more creative opportunities. Black-and-white in particular can look striking with the right shot. Make sure to play with your photos in post to dial in the desired look.
Now you’re all set to experiment with shooting motion blur to add a different kind of photo to your portfolio. Make sure to take plenty of shots, and don’t be afraid to get weird with it!