Underwater Photography: Ikelite's One-Day Workshop
Tara BradleyThe Original
Tara BradleyTips from the Pros:
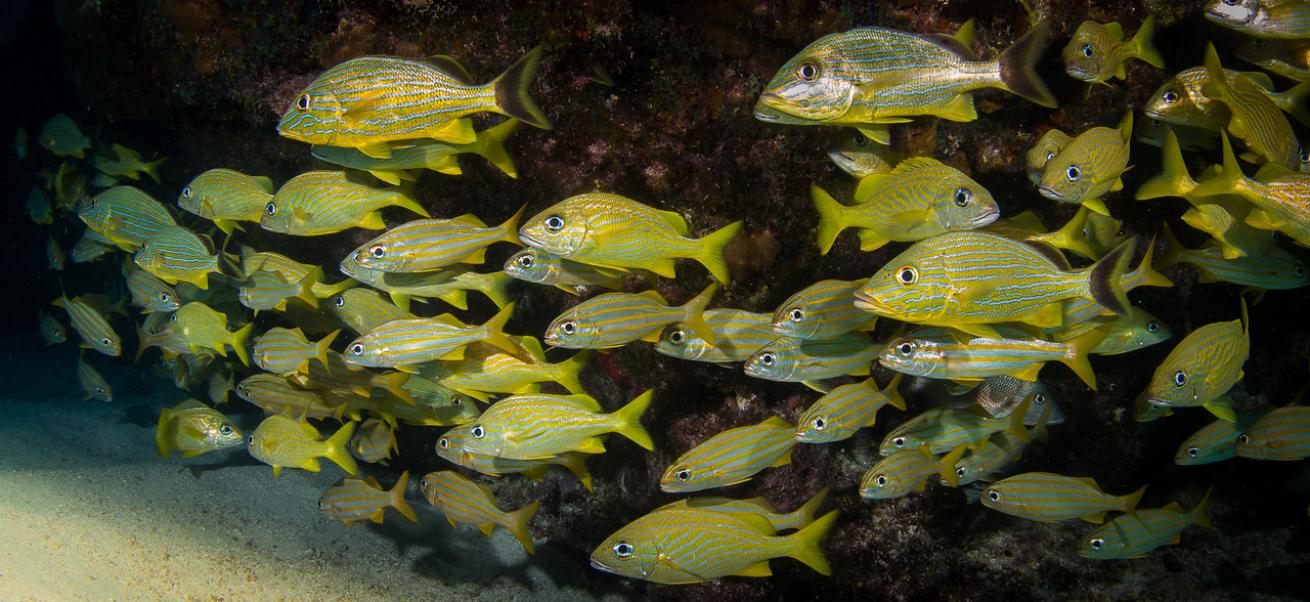
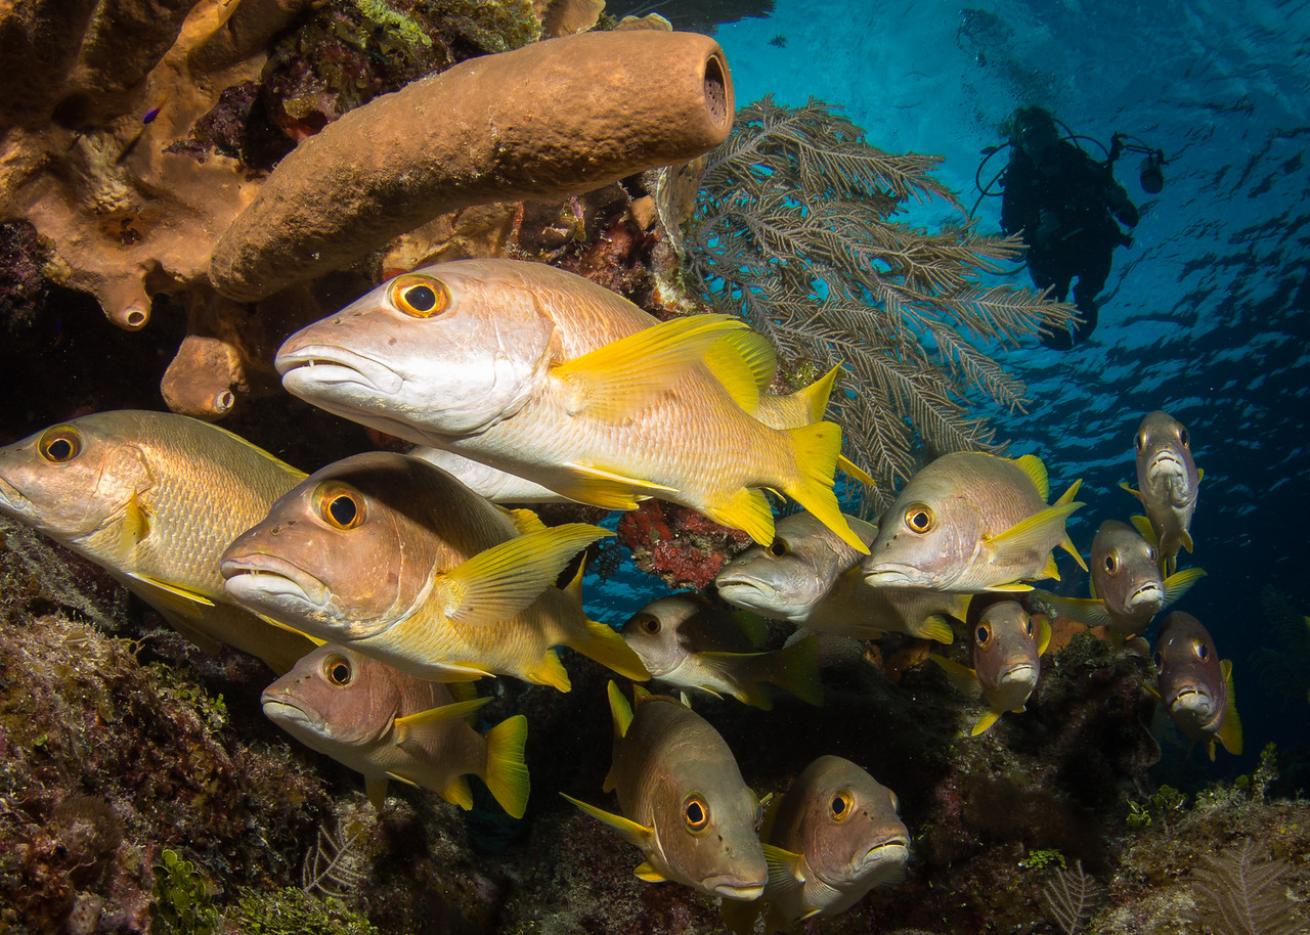
A school like this is worth drifting through a few times, hoping they all line up just right for a cool composition. The next two slides show a few editing options. On the editing, I wanted to keep the bright white sand in the bottom, so I used a gradient filter across the bottom of the image. I desaturated and brought the exposure down on the rocks above and behind the school with a brush in Lightroom to separate the fish. The lens is set at 17mm. I would like to see it wider, and with the fish half the distance away they are now, less than a foot, ideally. I always use a slight vignette as the last editing step.
Tara BradleyTips from the Pros:
Here is a tighter crop of the first image. Professional photographers will often refer to cropping as "evil" — their attitude is "use the right lens, don't crop." This is easy to say if you are shooting on a tripod with your kit in front of you! There is a quality loss when we crop, but you won't be able to see it on Instagram at 450px.

Tara BradleyThe Original
Tara BradleyTips from the Pros:
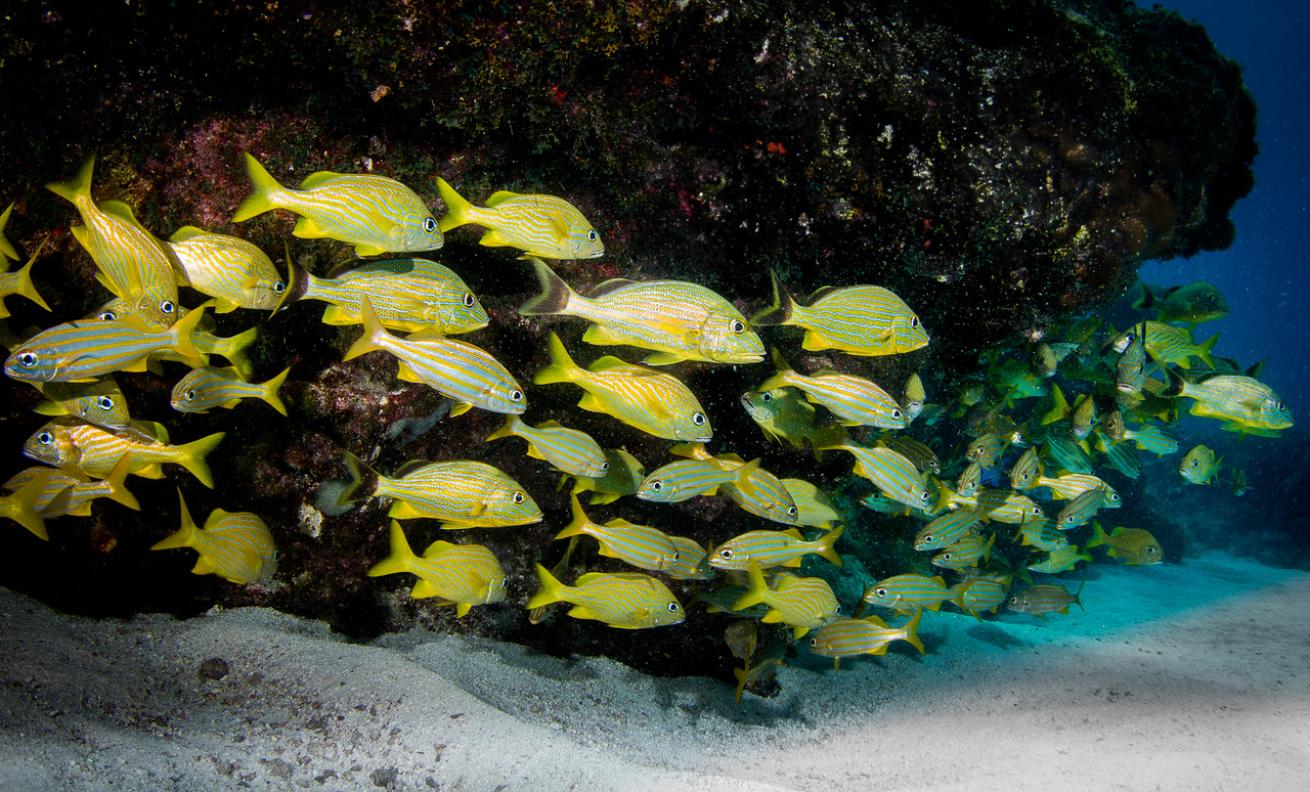
This image has the same metadata and edit as the first image. You didn't change settings here from the first image, which you should have done when you previewed it because the hot areas are easy to see — but this is also good, because I see the fish are going the opposite way so I know you are "working the scene." This is great technique for schools, because they will finish your composition by their orientation to each other. Sometimes this can be magic but never on the first frame; it takes multiple passes through, making adjustments along the way. The trick on these guys is to hold your breath and get inside the school on the drift so they let you almost touch them. It will make the water seem clearer because there is so little between the fish and your lens ... shoot these guys inches away if you can.
Tara BradleyThe Original
Tara BradleyTips from the Pros:
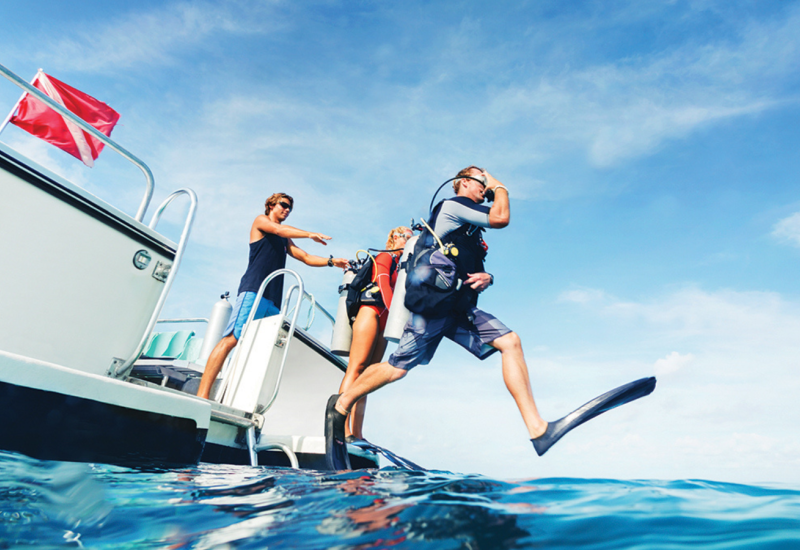
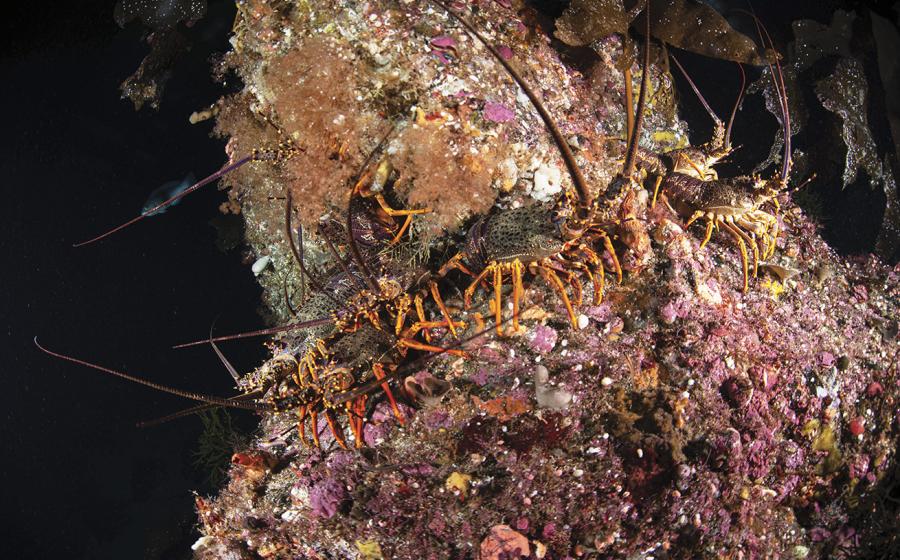
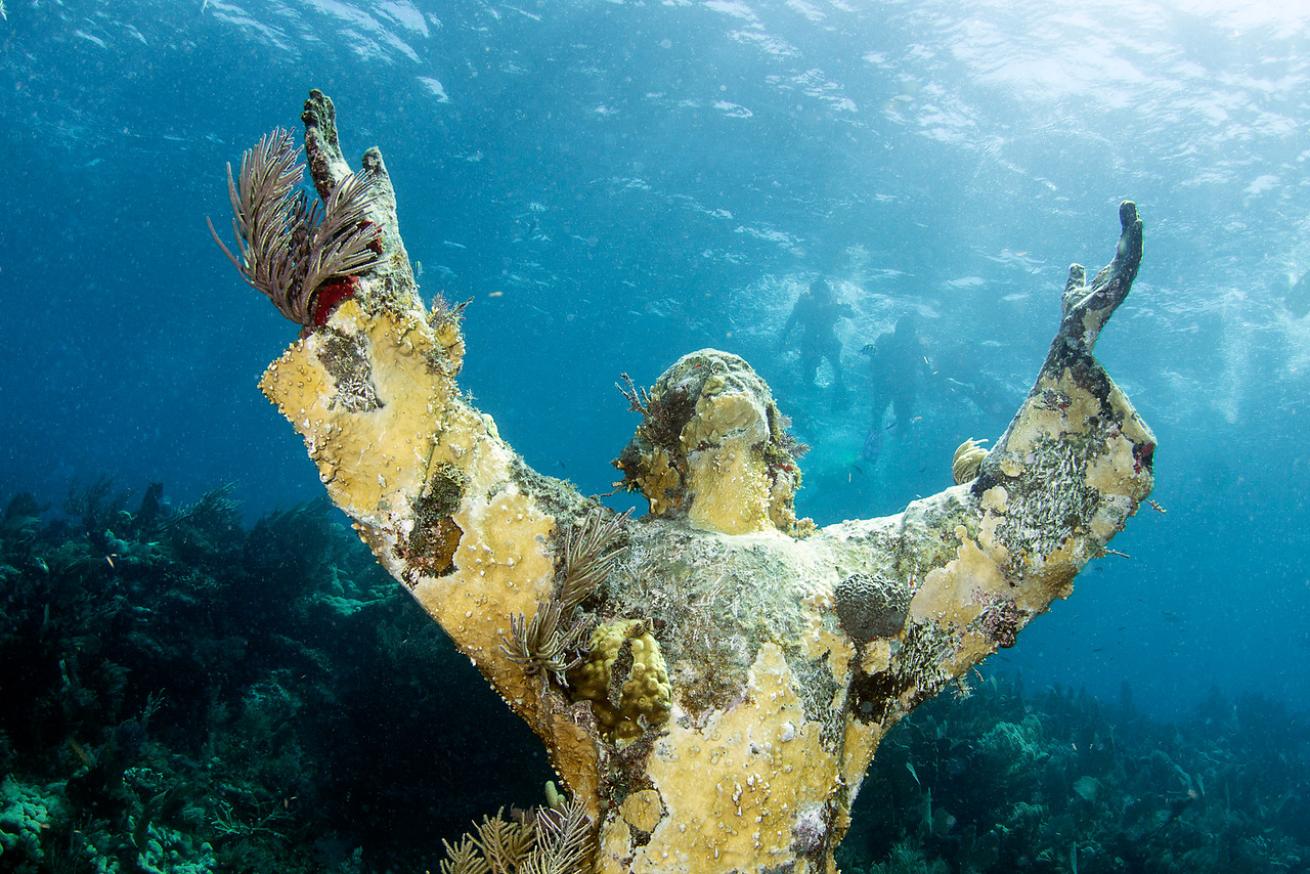
This one was a joy to edit, and needed almost nothing — a slight boost on clarity, sharpness, and saturation. Check out the next image for a look at my adjustments. I wanted to make the divers stand out more, so I used a brush to add clarity and contrast to the surface around them. I considered adjusting the tilt, but I think it's best as it is. The best way to improve this would be to get a day with better visibility. There is a bunch of scatter that shows up more if you try to bring out those sun rays streaming down, so you have to use a light touch. A cool composition for this would be to use the circular shape of the arms to mimic the barrel curve of the fisheye, then have your divers form a shape or pattern that is also circular. These repeating shapes can be cool. A more advanced edit on this image could make a separate layer of the surface, the divers and the sun rays without accentuating the scatter. You would have to export the image from Lightroom to Photoshop or another layering program to do that.
Tara BradleyThe Original
Tara BradleyTips from the Pros:
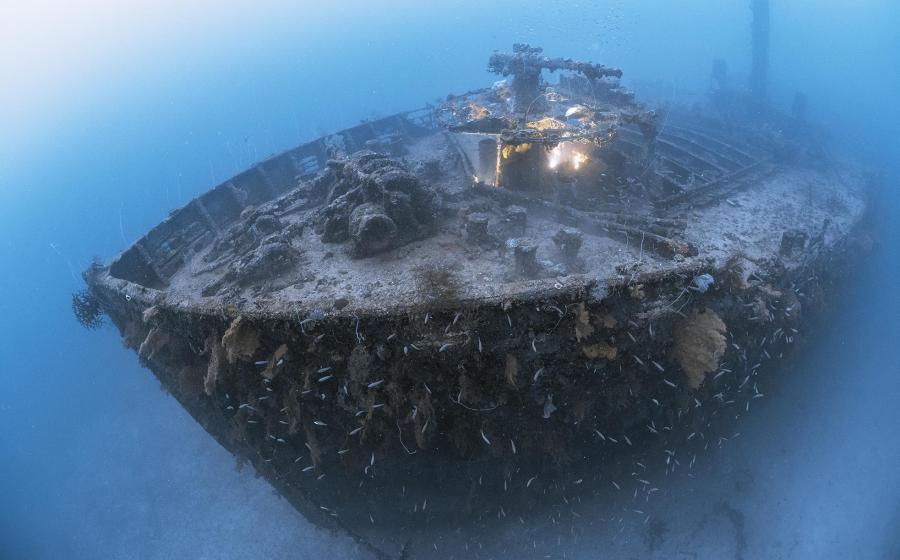
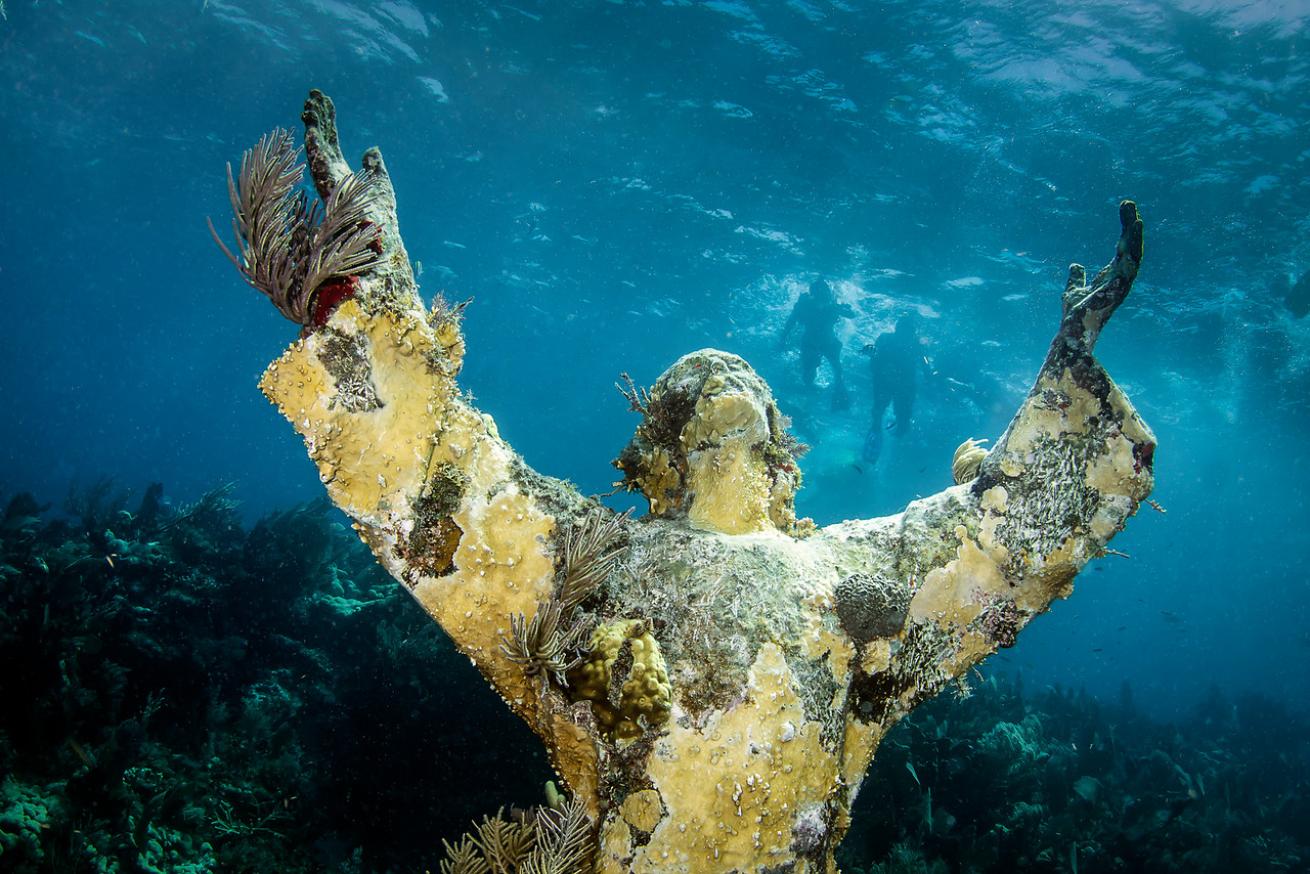
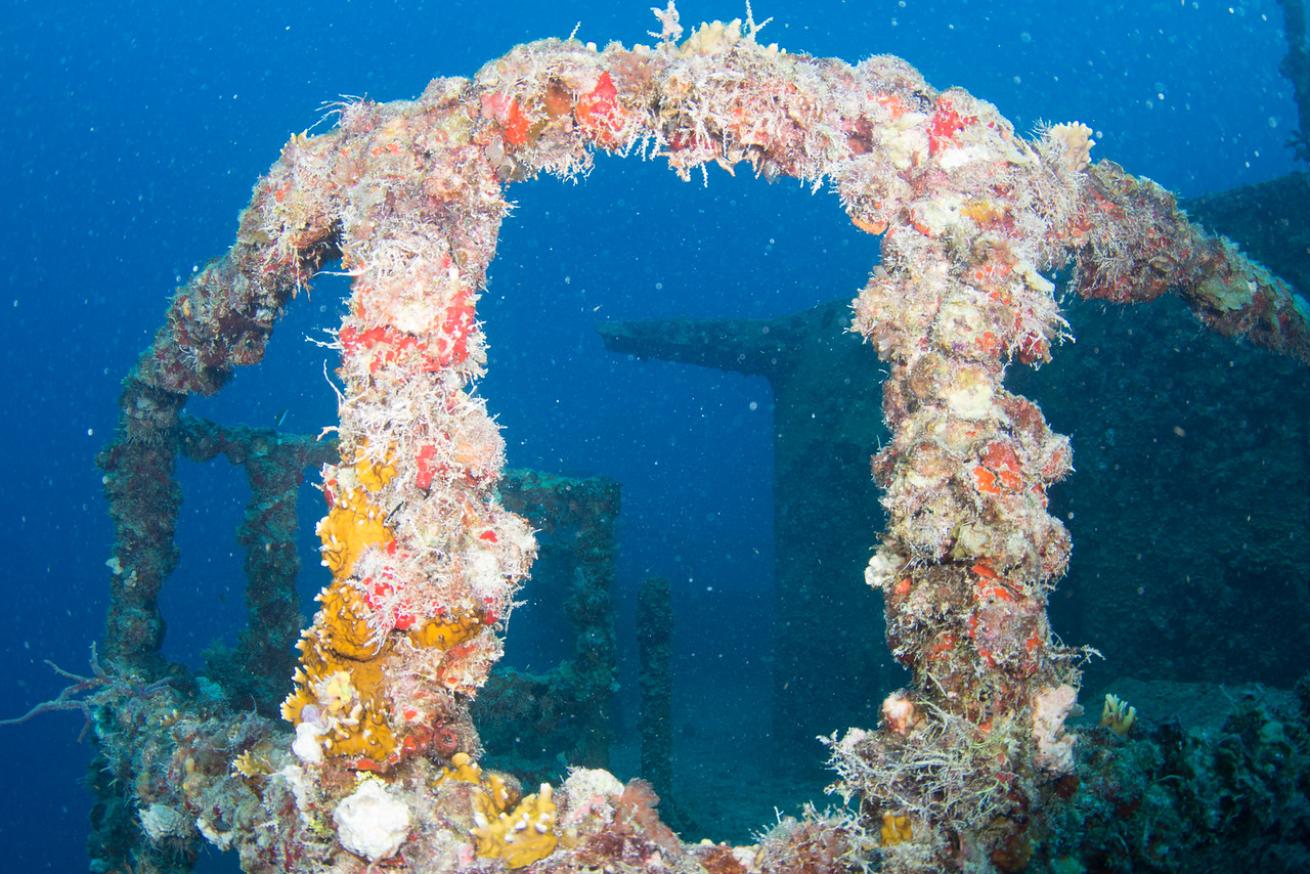
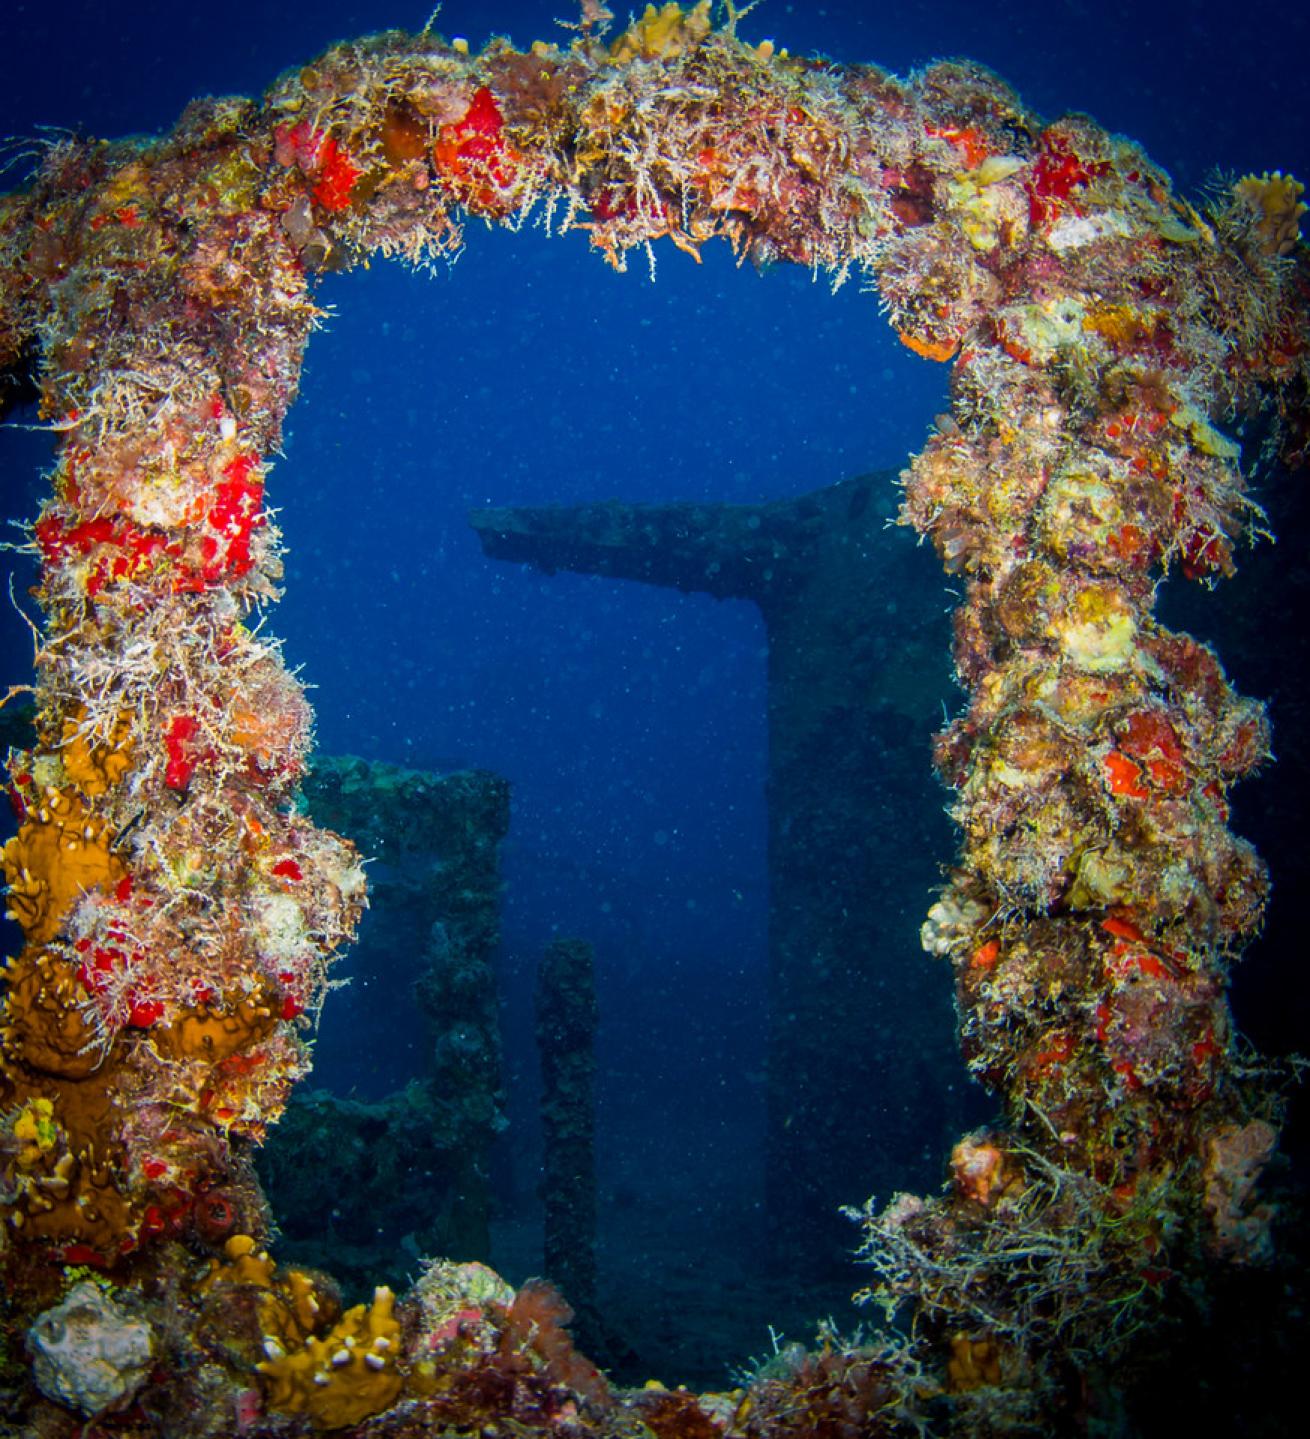
The main issue on the RAW file here is the overall exposure and particularly that the highlights are blown out. At first glance it may look a wreck, but it is actually very easy to correct with the Highlight slider in Lightroom. When you fix an image this way, compare the results of the Highlight slider to the Exposure slider for preference, these are both global (affecting the entire image), and you may prefer one over the other depending on the image.
You shot this at F-10 1/200th second and 200 ISO, I think 1/125th second around F-13 would have worked as well. The "hot" highlights are easily remedied in post, but you could have stopped down or adjusted your exposure compensation if you wanted to better the image "in camera." When you preview this image, stopping down should be intuitive because the image is hot.
I cropped this one to make a frame. Finding natural frames is cool compositionally, so go ahead and fill the frame with them by coming in even closer — 3 feet would probably work in this scene — then get a little more upward angle on the camera to get a change in light in your column. From there you just need a subject in the middle of it. A turtle would be nice, maybe the silhouette of the boat, maybe your buddy (wherever they went to.) :-)
Tara BradleyThe Original
Tara BradleyTips from the Pros:
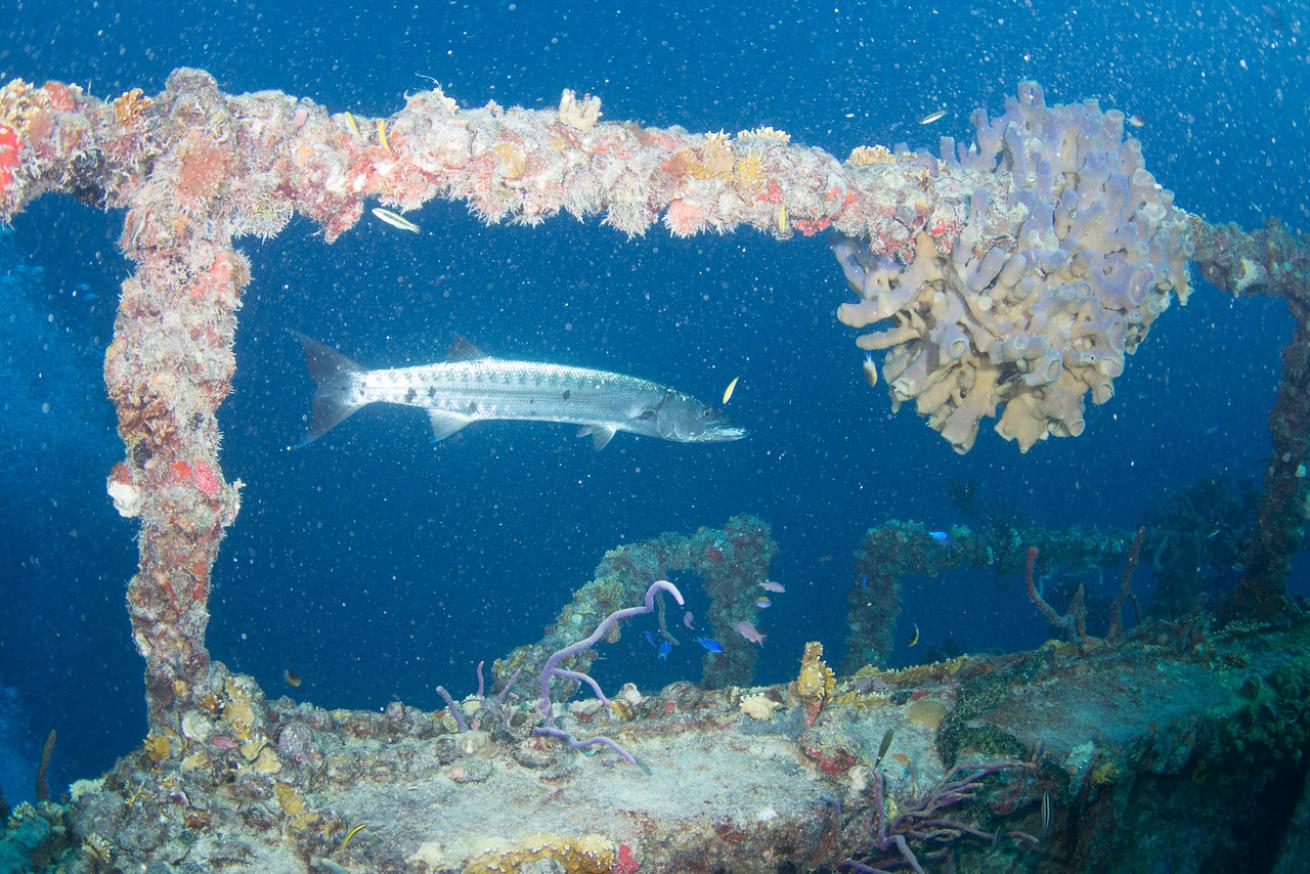
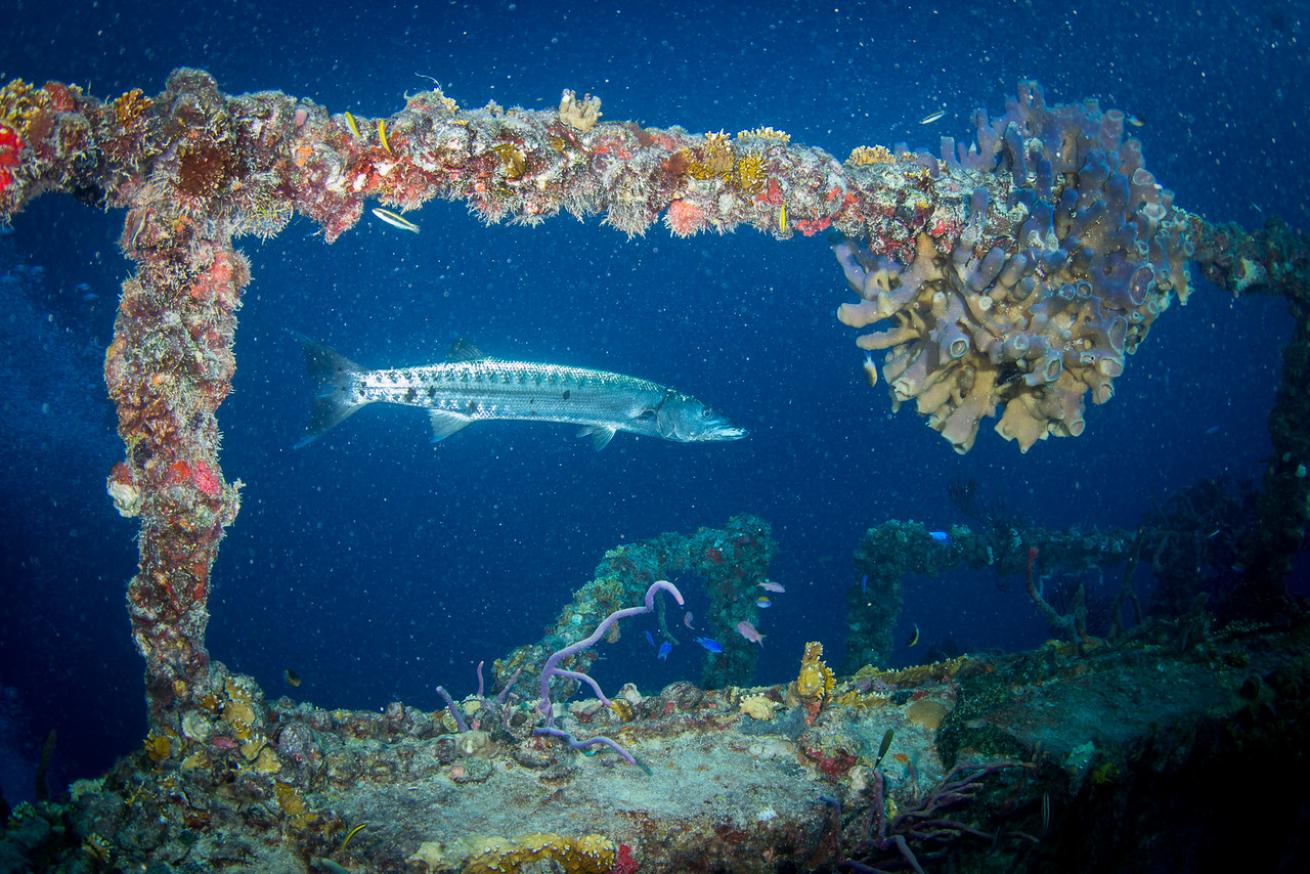
The fish has that famous "I'm moving away from you" angle, and the tail is closer so it's a bit hot since these are quite reflective. (Like the grunts, this is not that hard to remedy.) It's actually a testament to the TTL that the fish isn't totally blown out. The idea of framing here is a good one, but there is so much scatter in the water that it would take hours to clarify. If we leave Lightroom and go into Photoshop there are things like Content Aware Fill that will help clean up the water column here.
Also, if you wanted you could take a stock photo that you have of a nice clean water column and mask out the barracuda and corals into it. I used a brush to bring the exposure on his face up, and boosted the color, clarity, contrast and sharpness slightly, and applied a soft vignette. I think if you were 5 feet to the right and moved a few feet closer it would have squared up the composition of your coral framing a bit, then they key would be the pose of the barracuda that makes the shot. (Can you imagine if we could hire professional fish models?)
Steven MillerStory Behind the Shot:
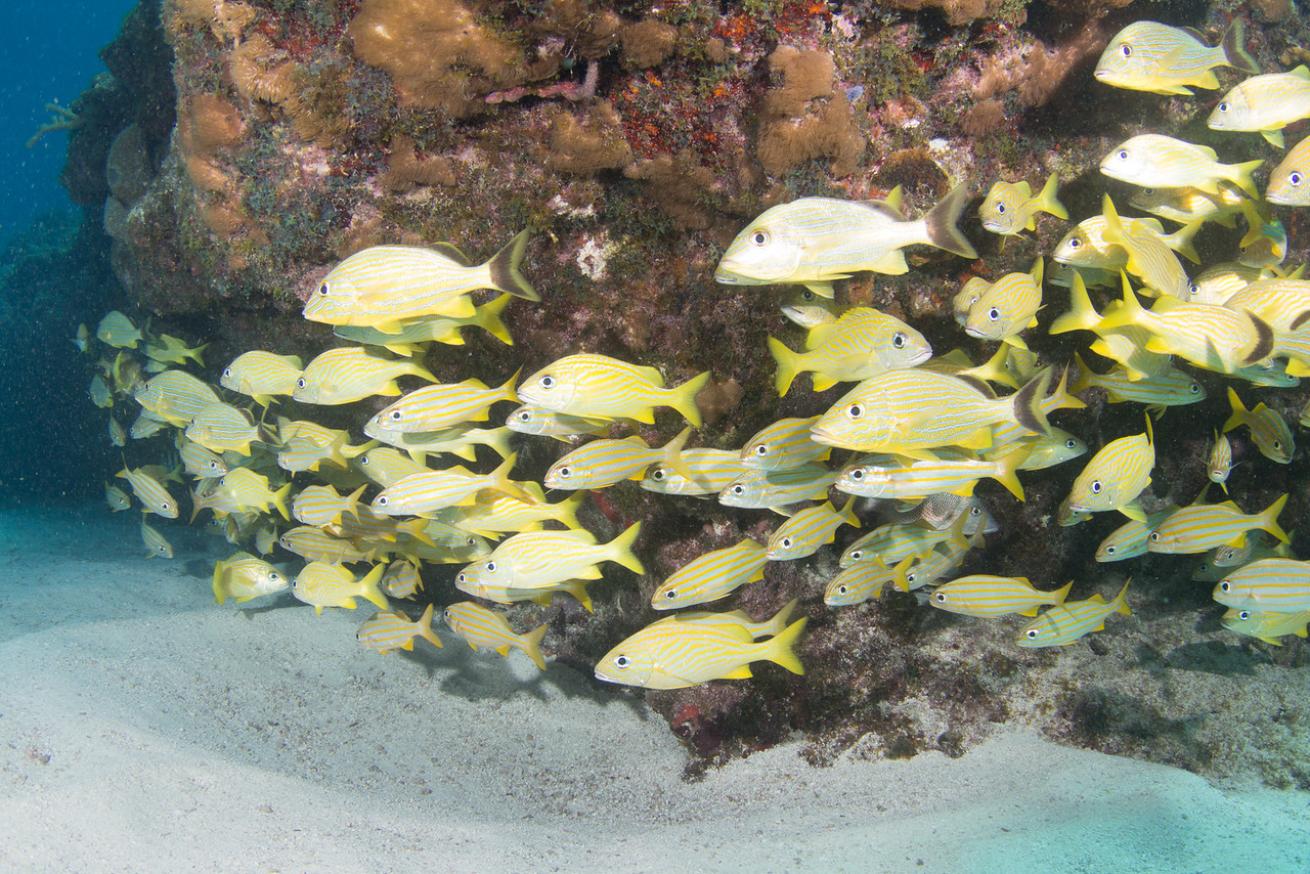
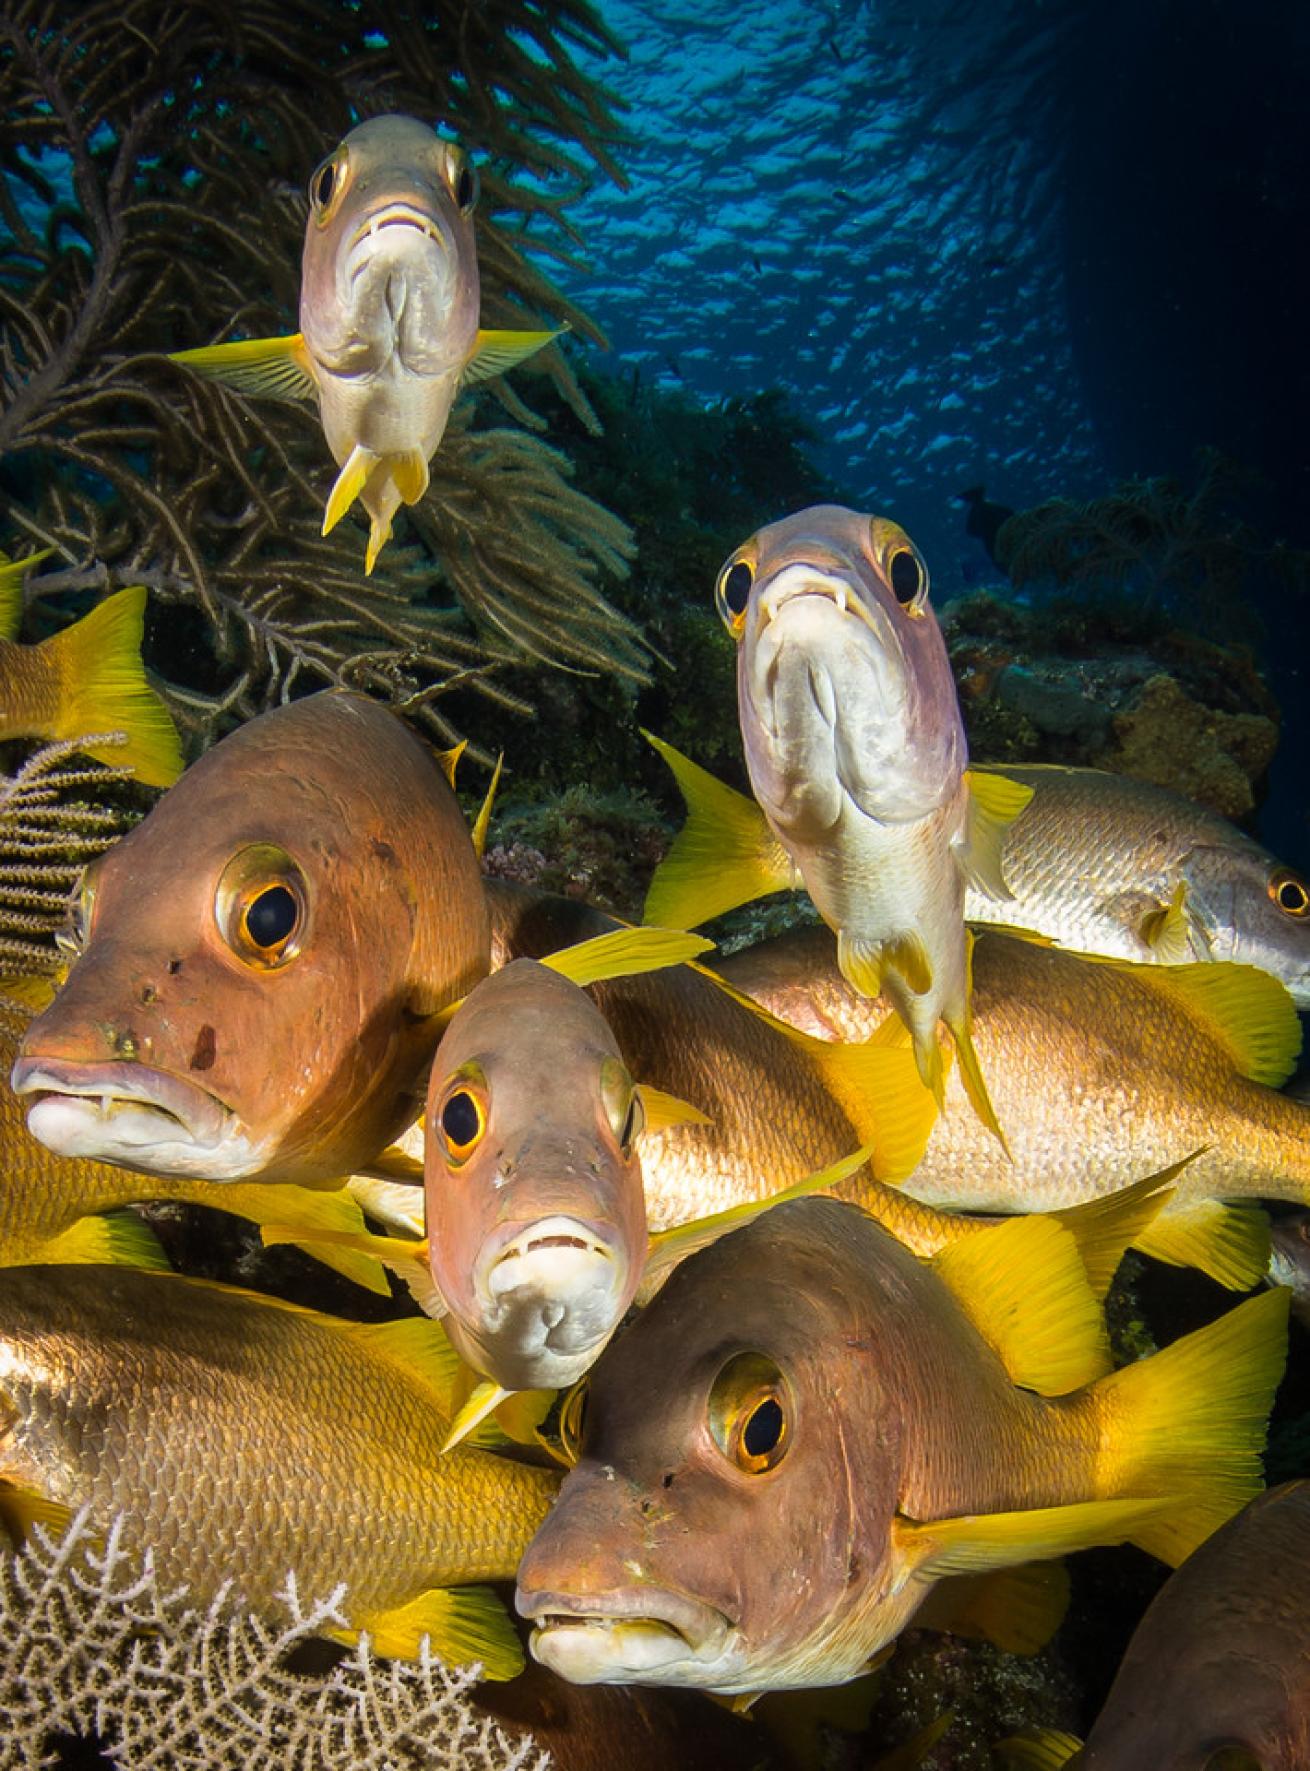
These last two images are of a school of grunts that I took the last time the Ikelite team dived together. We were in Little Cayman, so our visibility was better, but I wanted to show you what your images would have looked like at a closer distance.
These grunts would let me drift through them as long as I didn't kick or breathe, so if you position yourself with a slow momentum to pass through them, they will let you get crazy close. This is the same system you are using, but we are set at 11mm, 1/160th second and 100 ISO. The difference is the subject's distance — less water between the port and your subject — and these are about 6 inches away.
Steven MillerStory Behind the Shot:
These last two images are of a school of grunts that I took the last time the Ikelite team dived together. We were in Little Cayman, so our visibility was better, but I wanted to show you what your images would have looked like at a closer distance.
These grunts would let me drift through them as long as I didn't kick or breathe, so if you position yourself with a slow momentum to pass through them, they will let you get crazy close. This is the same system you are using, but we are set at 11mm, 1/160th second and 100 ISO. The difference is the subject's distance — less water between the port and your subject — and these are about 6 inches away.
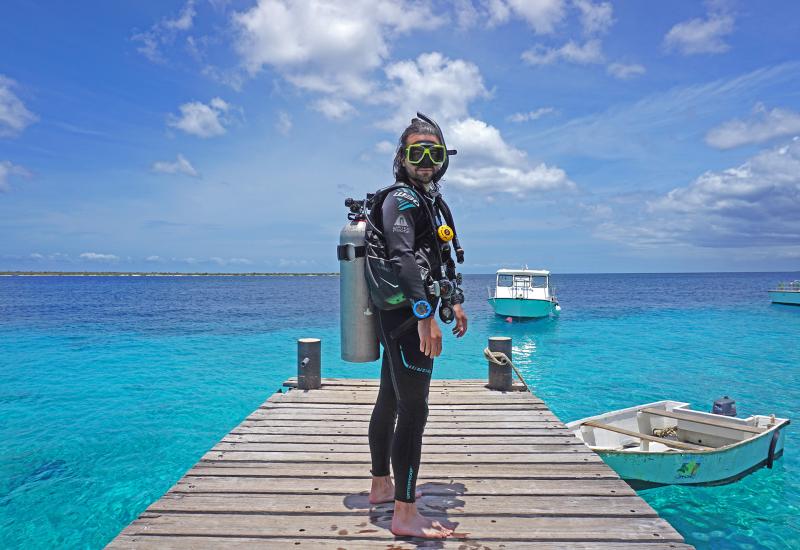
When I found out the Ikelite crew was coming to Florida to teach our team how to use their underwater camera setups, I couldn't wait to get in the water. Having only used a handful of compact cameras and a video camera dating back to the dinosaur age, I was a little intimidated to test out anything too massive or complex. Luckily there was a lot to choose from. The Ikelite staff brought in everything from GoPro setups to massive DSLR rigs. And of course, for my first dive, I ended up with the biggest rig they had, which I affectionately named "the beast."
As we all know, looks can be deceiving, and my first impression of the rig was that it was user-friendly and compact, making it a great option for travel. With today's strict baggage limitations, the size and weight of my gear is a huge factor in determining what makes it into my carry-on bag and what stays home. After eyeballing the setup, I could already mentally pack the housing and camera in my trusty roller bag and the strobes and arms into my backpack.
Underwater, the camera wasn't cumbersome yet the housing felt solid enough that my buoyancy wasn't an issue. My index finger naturally fell to the easy-to-release shutter button, and the manual settings could be changed with a couple of clicks on the backside of the housing. Before the dive, the Ikelite team had given me a quick review of suggested aperture (f/10) and shutter (1/125) settings, so I was ready to roll. From there, it was playtime.
The lessons didn't stop once we were out of the water. Back at the office, I sent my images (and a few extras) to the Ikelite team, and they got back to me with feedback and tips on how to improve my skills for next time. They even sent me some of their shots for reference. Here are some of my favorite pics, with feedback from the Ikelite crew and a few awesome shots they took that day.
Hopefully, these tips can help you on your journey to underwater photography. Have some to share? Send them our way; we’d love to see them!