Underwater Photography Tips for Mastering Exposure and Histogram
Mastering exposure is a fundamental skill in underwater photography and video. It’s essential to capture correct exposure in-camera as you’re creating each image.
Sure, we now have powerful post-processing tools that will allow you to save dramatically underexposed or overexposed images. The side-effect, however, is often a lack of quality in the image. It’s much better to capture perfect exposure, which not only delivers better color and contrast, but allows you to use that powerful editing software to enhance the image instead of simply saving it. There is a big difference here.
Exposure Techniques
There are three main exposure techniques for shooting underwater photo and video.
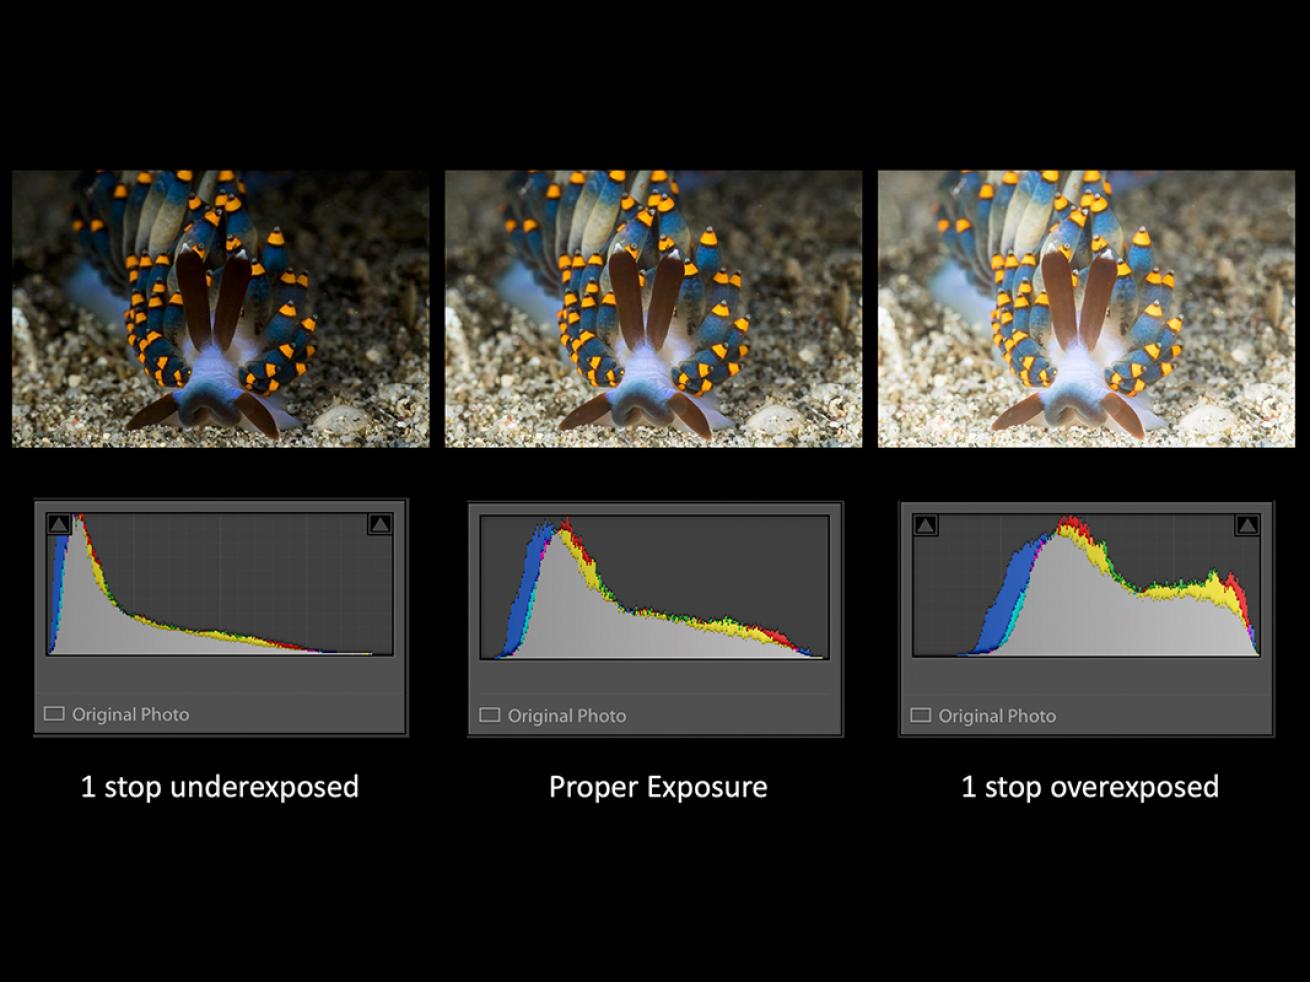
Brent DurandProper exposure using your histogram.
Macro Photos
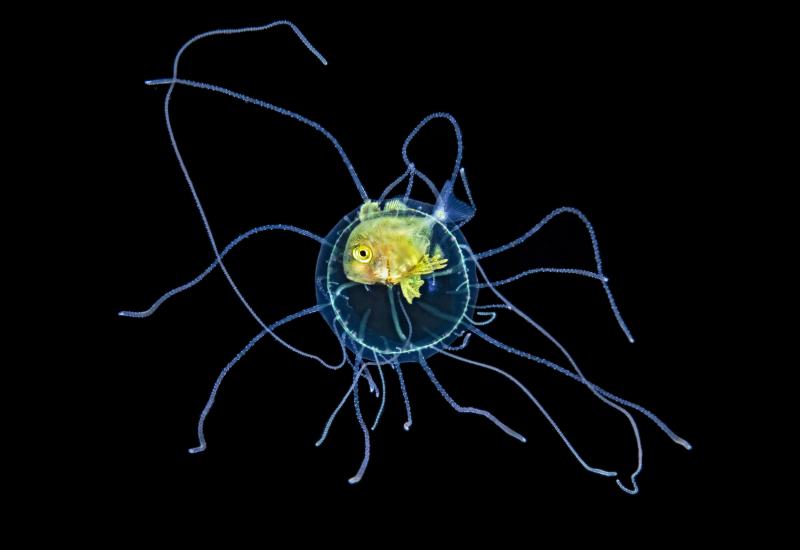
When shooting underwater macro, we are relying completely on our strobe to light the scene. Our camera settings serve primarily to eliminate ambient light and to create the desired depth of field for our image. Once we have these settings locked in, we use the strobes as the primary means to controlling exposure.
Note: If you haven’t yet, be sure to watch my tutorial on the Best Underwater Camera Settings.
Wide-Angle Photos
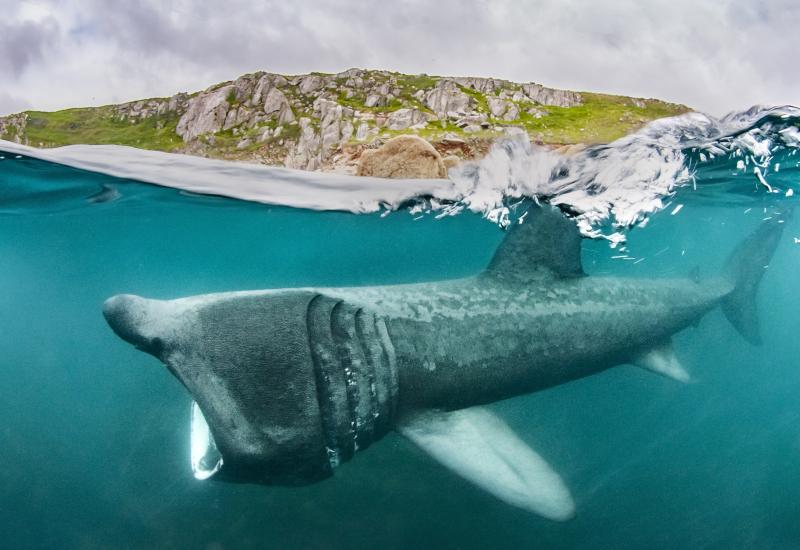
When shooting underwater wide-angle, I teach a two-step process for exposing the image correctly. Step 1 is to use your camera settings to properly expose for the water in the background of your image. This is ambient light. Step 2 is to turn on your strobes, which you then use to light the foreground. Since your camera settings have already been set, all you have to do is adjust strobe power and positioning to dial in the foreground exposure.
Constant Light and Ambient Light Photos
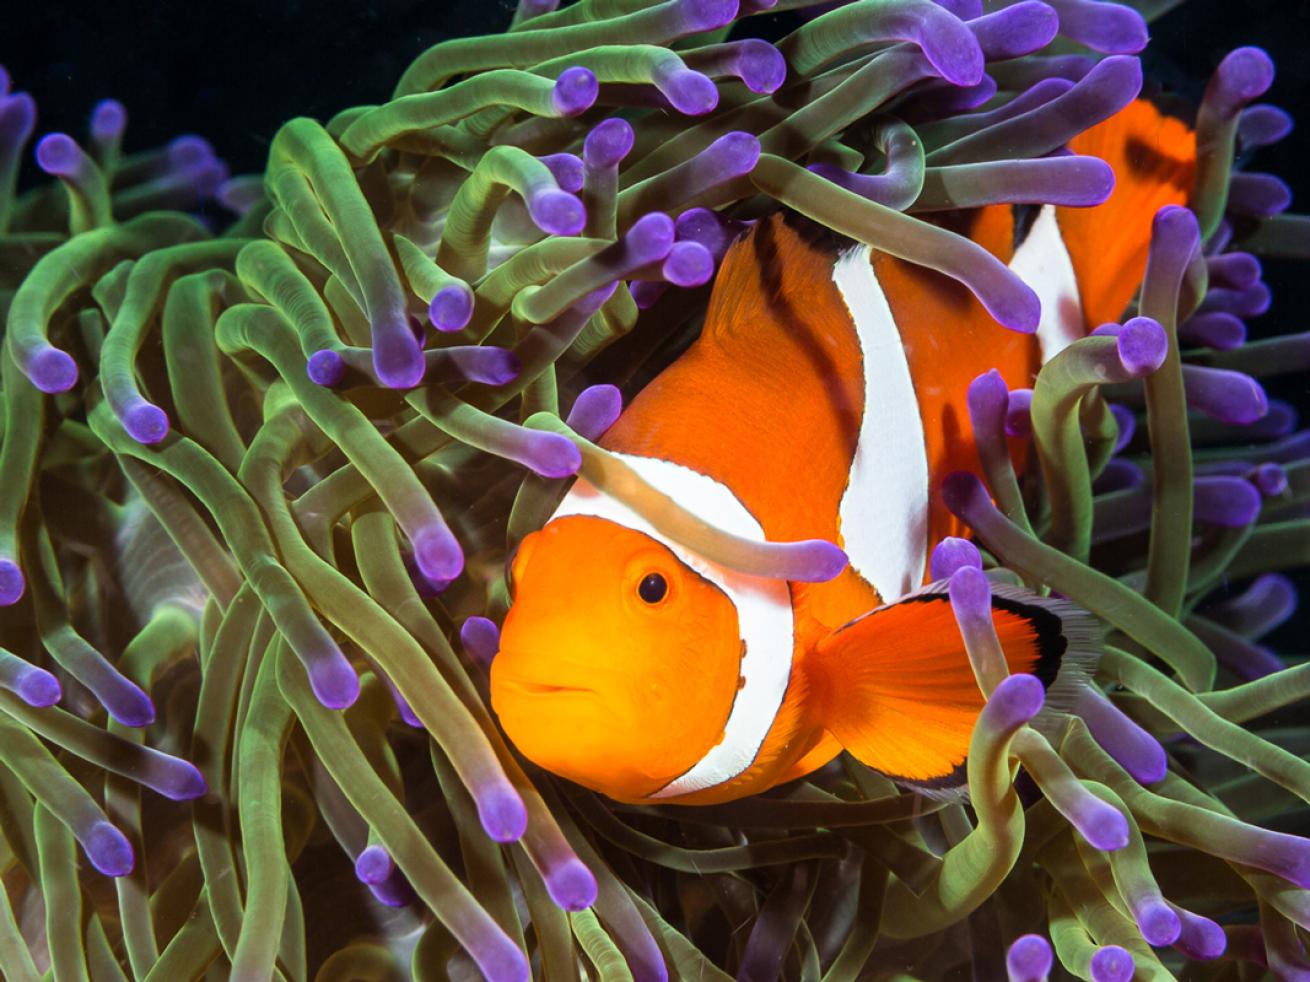
Brent DurandA properly exposed clownfish.
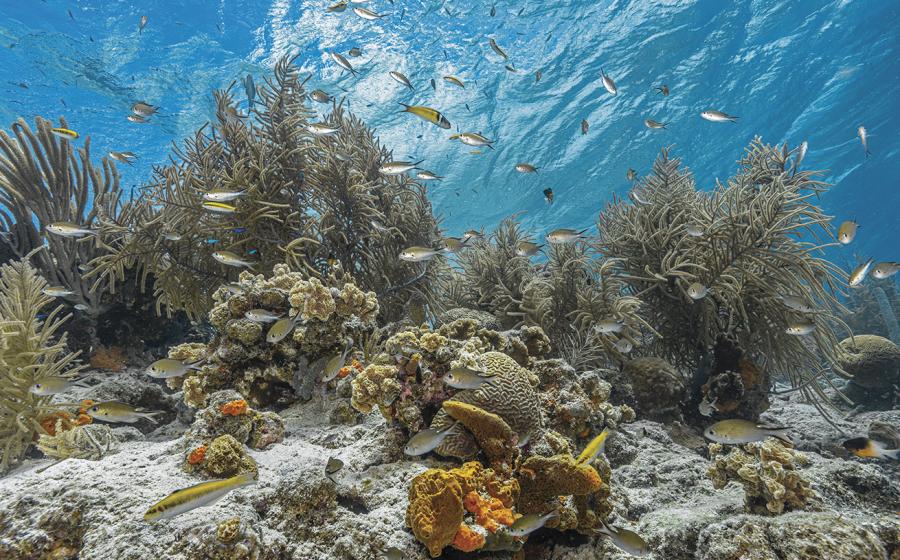
I group these two photo styles together because they use the same settings strategy. Constant light involves shooting with a video light or dive torch, and ambient light is shooting with only the available sunlight. Because you can see the exposure of the scene in the camera (there’s no strobe flash to worry about), it’s much easier to quickly expose the scene. You can often use semi-automatic settings on your camera as well.
Using Your Histogram
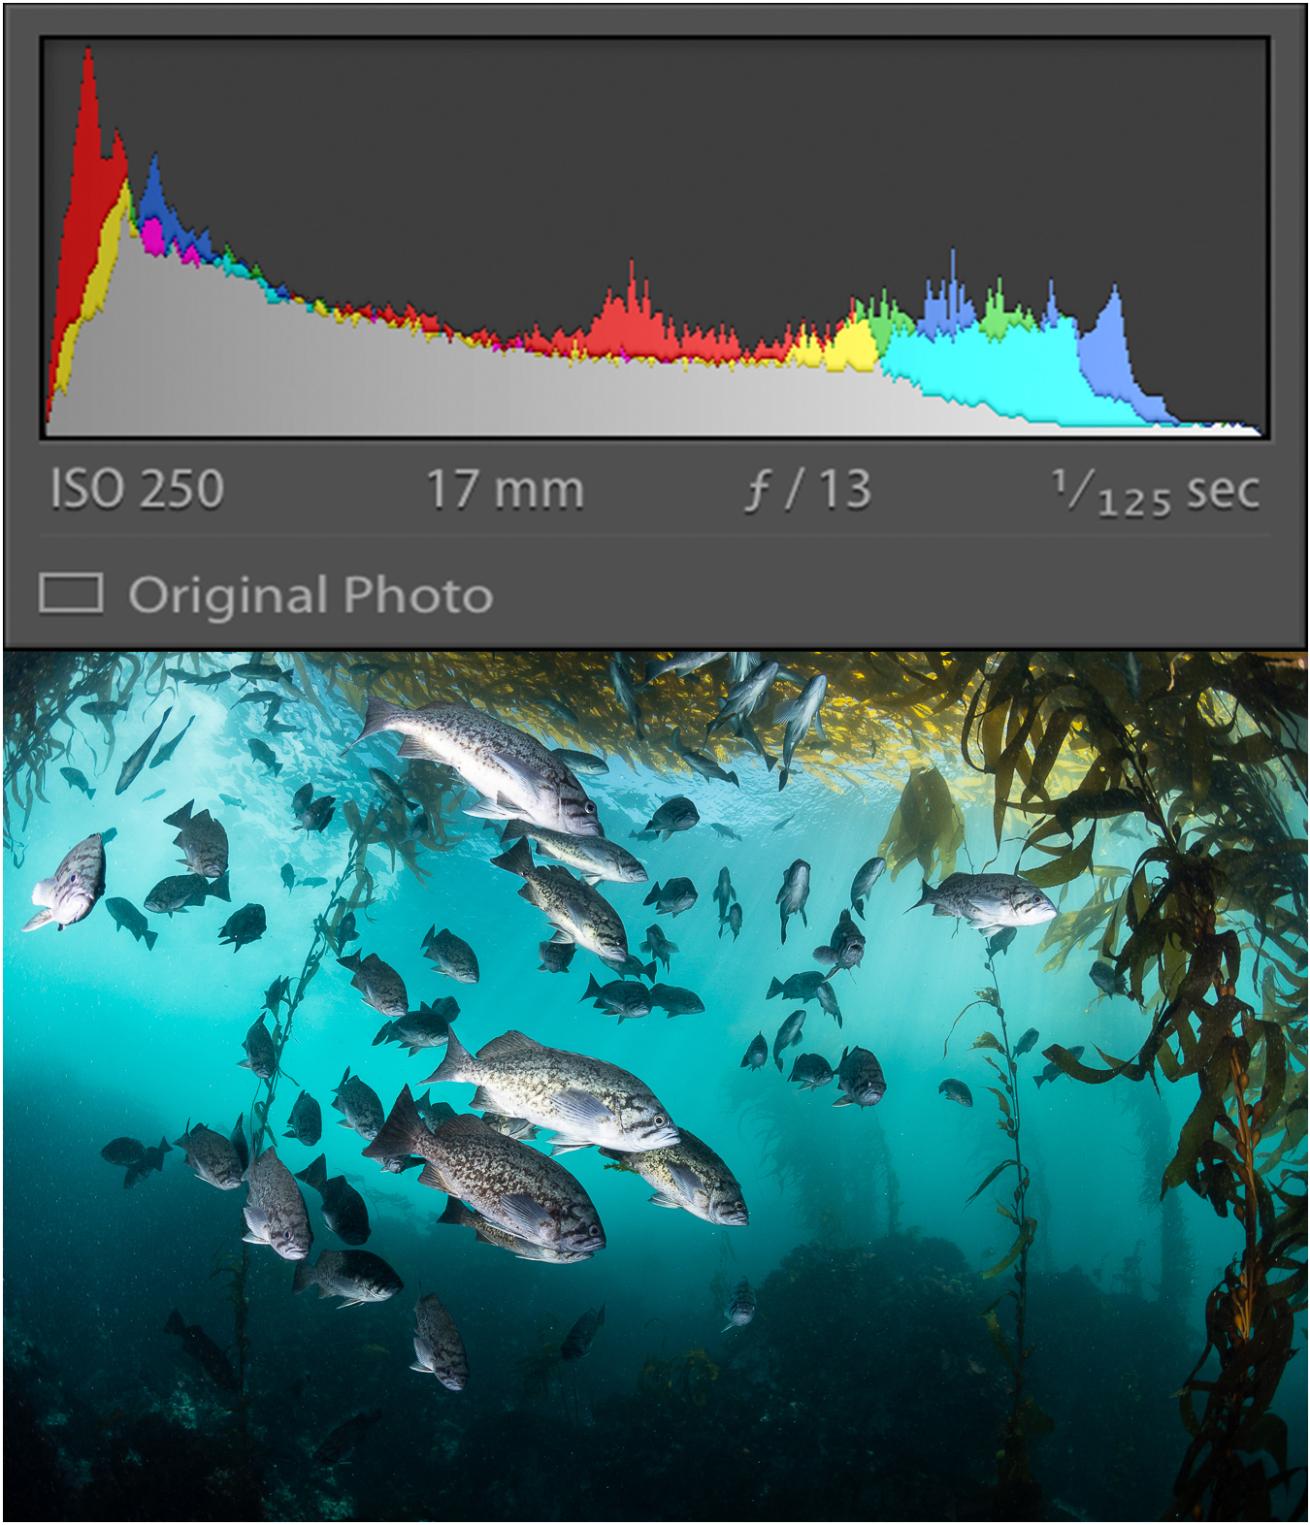
Brent DurandHistogram exmaple
Our video tutorial goes in-depth on using your histogram, but the idea is to keep the grey (or white) bell curves of exposure data in between the left and the right sides of the box. The left side of the box shows the shadow and dark areas of the frame down to the point of extreme underexposure. The right side of the box shows the highlights and light areas of the frame up to the point of extreme overexposure. The center is proper exposure.
You’ll be able to measure your exposure perfectly by reviewing your histogram after each and every shot, making the appropriate changes and improving each frame.
Our video tutorial goes in depth on using your histogram, but the idea is to keep the grey (or white) bell curves of exposure data in between the left and the right sides of the box. The left side of the box shows the shadow and dark areas of the frame down to the point of extreme underexposure. The right side of the box shows the highlights and light areas of the frame up to the point of extreme overexposure. The center is proper exposure.
You’ll be able to measure your exposure perfectly by reviewing your histogram after each and every shot, making the appropriate changes and improving each frame.
Brent Durand is a professional writer and underwater photo instructor. Find his in-depth video tutorial series at tutorials.brentdurand.com


