Your First Underwater Camera System: How to Build a Pro-Level Setup
Buying your first advanced camera system is intimidating. Costs seem to stack up as you wade through accessories that are contingent on questions you don’t yet know how to answer. This article will cover the basics and serve as a starting point on your camera-system journey.
The Ikelite Setup:
- 200DL Underwater Housing for Canon EOS 5D Mark III, 5D Mark IV, 5DS, 5DS R
- Right-Hand Quick-Release Handle
- Shutter-Trigger Extension
- Compact 8” Dome Port
- Aluminum Top Handle
- DS161 Strobes
- Wide-Angle Ball Arms
- Dual TTL Sync Cord
- Gamma Lights with Ball Mounts on a Triple Clamp
- Light & Motion Sola lights on Sliding Ball Mounts
1. The Big Decision: Housing and Port Selection
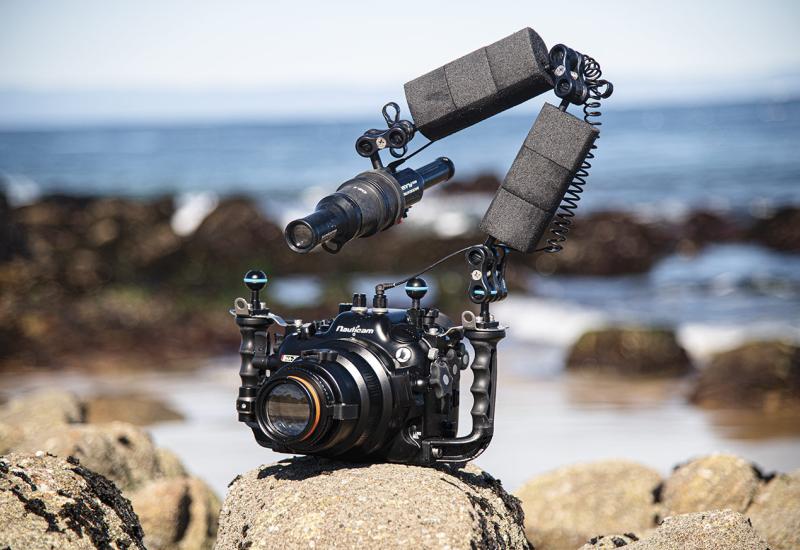
Underwater housings are designed specifically for each interchangeable-lens mirrorless and DSLR camera. Volumes can be filled with info on how to choose a camera body and housing, but for this article we’ll assume you have already selected both based on your budget, shooting preferences and comfort level.
Lenses and ports are the next major consideration. Traditionally, underwater shooters have opted for a macro and a wide-angle—or fisheye—lens.
A macro lens requires a specific port, while wide-angle and fisheye lenses generally fit into the same dome ports. Dome ports use extensions specific to each lens in order to space the dome at just the right distance from the housing.
But don’t worry; housing manufacturers have detailed guides indicating which extensions should be used with each lens and dome combo. A general rule is that fisheye lenses may be used in all domes, from 100mm to 240mm, while a rectilinear wide-angle lens may only be used in larger domes. In recent years, wide-angle conversion lenses have become a versatile substitute for traditional dome ports.
According to Kevin Palmer, an imaging expert at Reef Photo & Video, “Wide-angle water-contact optics or ‘wet lenses’ were originally modest lenses designed around the small sensors of compact cameras. But in recent years, advanced computer design and manufacturing have led to optics that are compatible with systems all the way up to full frame 35mm sensors. The end result is often superior wide-angle rectilinear performance over a wider zoom range, with closer focus and more aperture flexibility. All with a smaller form factor than large domes.”
ScubaLab Reviews Underwater Housings
2. Arms and Clamps
Virtually all underwater photographers use strobes to light their subjects, with the exception being freedivers and those shooting subjects such as whales in ambient light.
Strobes are attached to the camera system using arms that hold the lights in place while also allowing them to be moved around the rig to best light the subject. Prosumer camera systems will benefit from an aluminum arm and clamp system, as the plastic flex arms we see on some smaller systems don’t provide the strength and positioning versatility required for a large camera rig.
Each arm segment has a 1-inch ball on either end, which is attached to the next piece using a clamp. The first segment is clamped onto ball mounts attached to the housing handles.
Many photographers also use float arms in order to offset the weight of the system and achieve neutral buoyancy.
“With modern underwater camera systems, we find most people are more successful with shorter arm set ups,” Palmer says. “This leads to greater accuracy with your lighting—5-inch to 8-inch arms are usually ideal. Another rule of thumb is that you should be able to take pictures underwater comfortably with just your right hand. If you can’t, your rig is too heavy. Try measuring the weight of your set up, in water, with a luggage scale tethered to your housing. Float arms and foam floats are usually rated for their specific buoyancy, making it easy to judge what you need.”
3. Firing the Strobes
Strobes are fired by relaying an optic or electronic signal from the camera to the strobe. This requires use of a fiber-optic cable or a sync cord that plugs directly into the strobe on one side and into the housing on the other. Your local underwater camera specialist will be able to offer guidance on the best solution for your system.
4. Essential Accessories
Macro shooters will absolutely want small focus lights on top of their housing to shine on subjects and help the camera’s autofocus system achieve sharp focus.
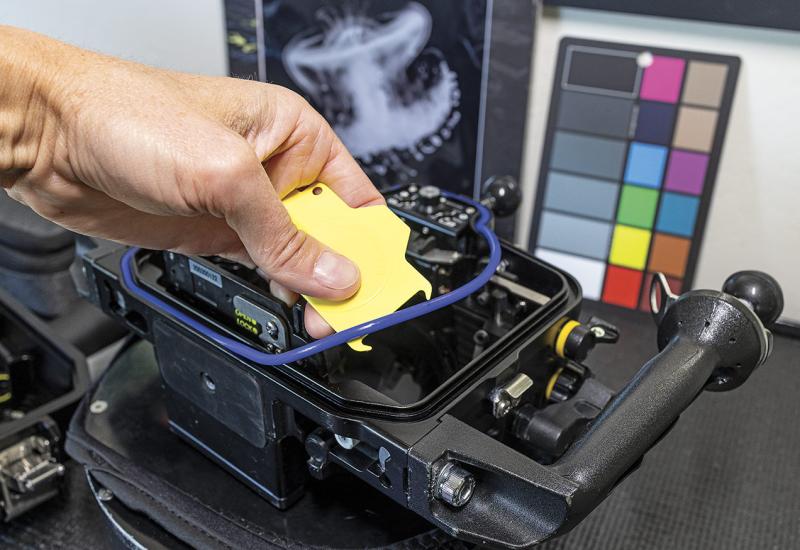
Many divers also opt to add vacuum systems to their housing in order to test systems for possible leaks before hitting the water.
All-In-One: The DC2000 Pro 3000 Duo
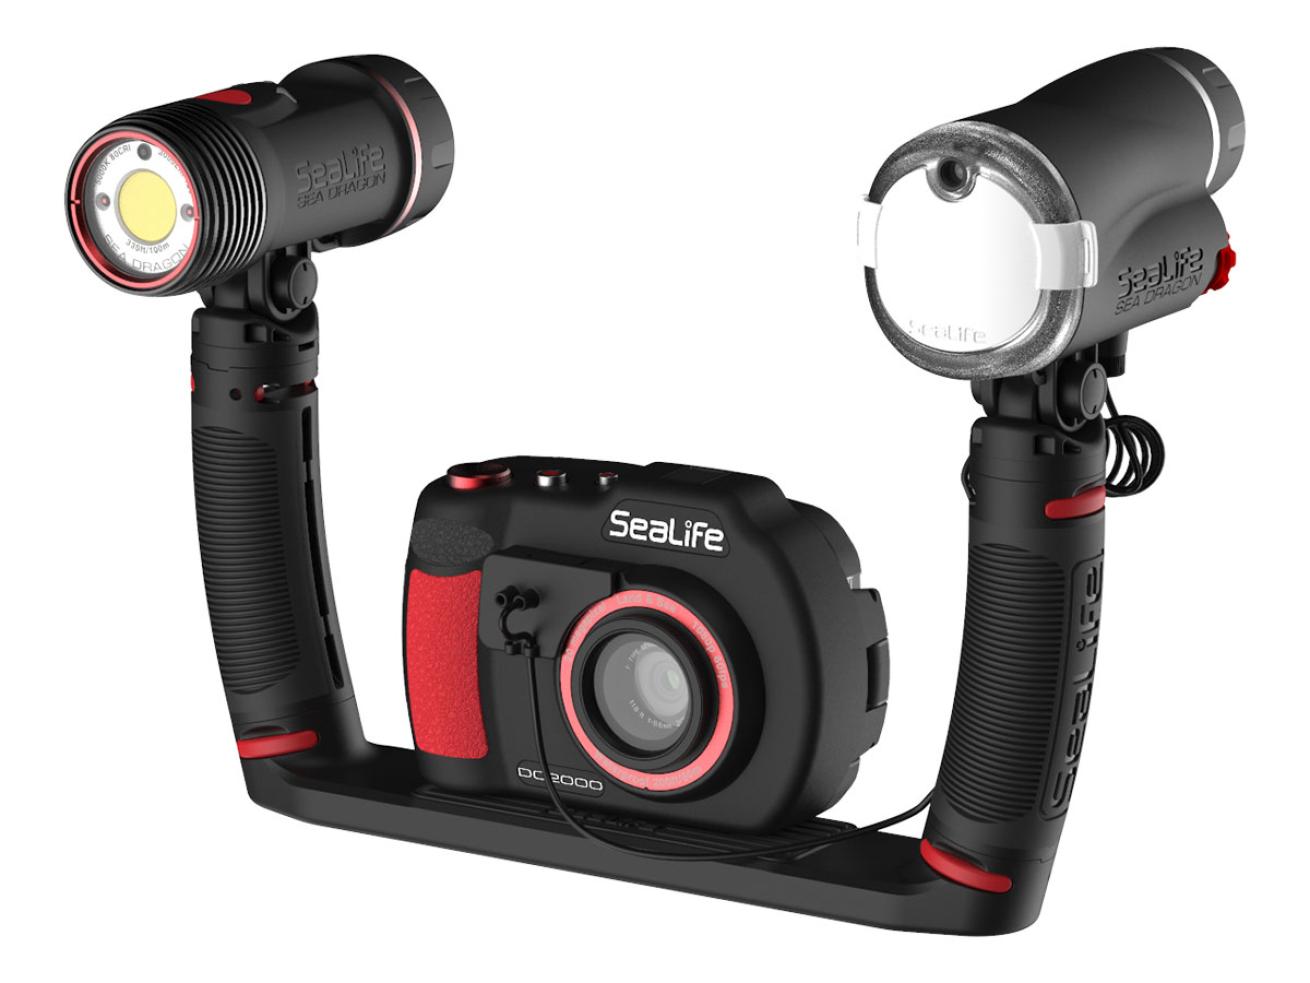
Brent DurandThe DC2000 Pro 3000 Duo
SeaLife’s Pro 3000 Duo camera system includes everything you need to start shooting underwater photo and video.
The new Sea Dragon 3000F Auto Light packs 3,000 lumens and a wide-beam angle in a small body. This light is easy to travel with and ready for macro and wide-angle video, lasting 60 minutes on full power. Power can be controlled manually or with the Auto Bright feature that automatically adjusts the power level based on proximity to subject.
The Sea Dragon Flash, which can be shot on automatic or manual mode, delivers bold colors for stills. The fiber-optic cable used to trigger the strobe is included in the kit.
The DC2000 camera, featuring a 1” 20MP image sensor and RAW + JPEG image capture, combines ease of use with great image quality. Shoot this camera on full auto, in one of four underwater modes, with three underwater color-correction filters, or in full manual. The housing features SeaLife’s iconic piano-key controls, which are easy to see and operate while diving.
Full-HD video using Optical Image Stabilization can be recorded with the push of a button.
The DC2000’s lens can shoot macro subjects as close as 9 centimeters, which drops to just 3.8 centimeters when using the optional Super Macro Lens.
SeaLife’s Sea Dragon Flex-Connect system makes the camera system easy to hold while shooting and navigating around the dive site. The unique interlocking system makes setting up and breaking down the system extremely quick.

