How to Photograph Tide Pool Split-Shots
Thomas Anderson
The intertidal zone, where the shore meets the ocean, is a fascinating and rugged environment, home to diverse species. Given the nature of this habitat, it is the perfect opportunity to take split-shots. Split-shots, also called over/unders, are a challenging but rewarding type of photography and a great way to capture the beauty both above and beneath the waves.
Gear for Taking Split-Shots
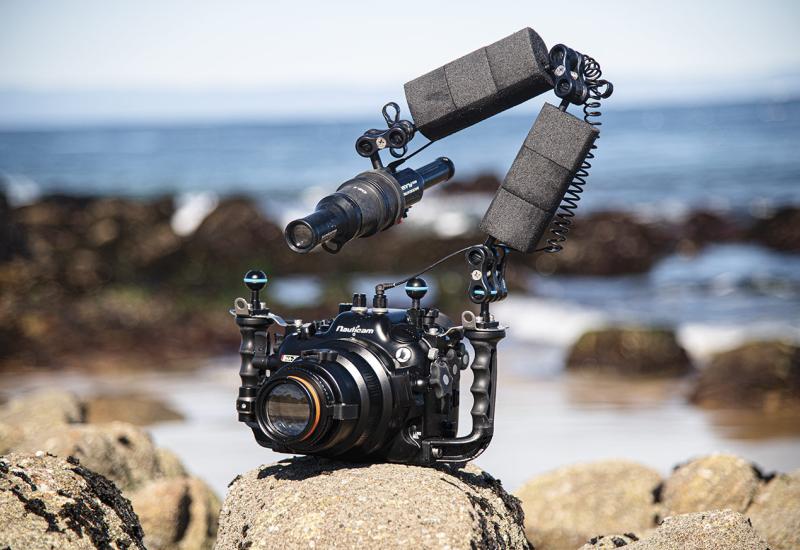
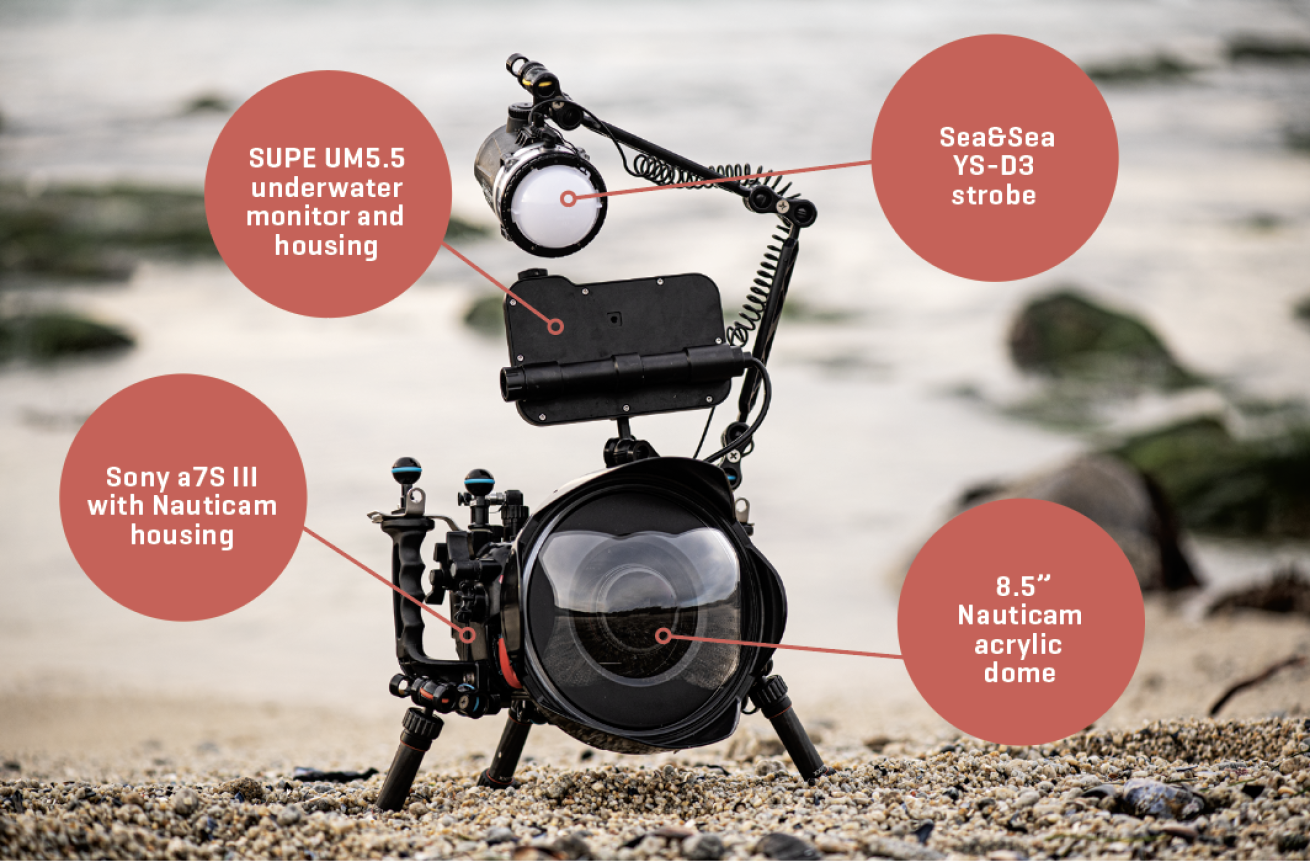
Split-shots require specific gear to get successful shots. The first thing you’ll want is a wide-angle camera lens, like a fisheye or a 16-35mm (or equivalent focal length). Wider lenses make it easier to cover as much area as possible above and below the water. You’ll also want a big dome port, around 8.5 to 10 inches. Bigger domes make it easier to achieve a smooth, even water line in your shot. Though it is possible to shoot split-shots with a smaller dome, capturing an even water line will be extremely difficult. Glass domes tend to repel water better, but acrylic is cheaper and easier to polish if you scratch it. The choice is up to your budget and how accident-prone you are.
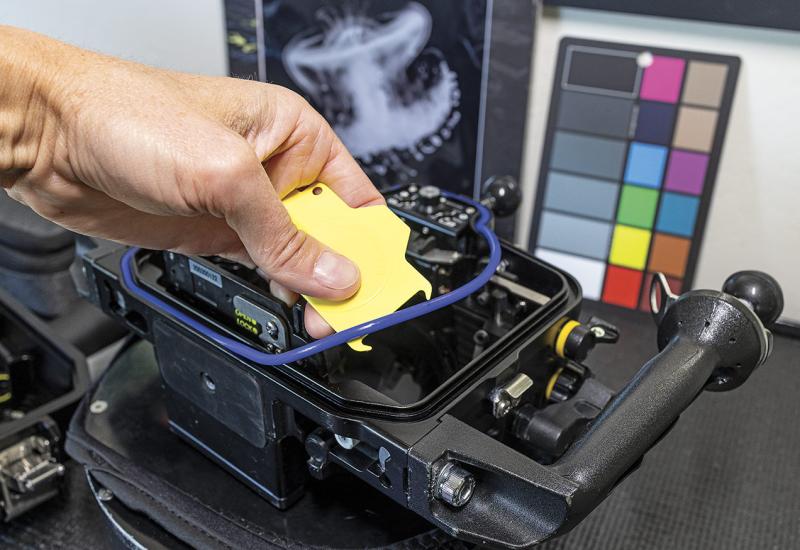
Before you get your dome wet, make sure it is as clean as possible. Use specific cleaners like Novus 1 or briefly polish your dome if it is acrylic. A clean dome will keep water from clinging to its surface, preventing droplets and streaks that can ruin your shot. Another way to prevent water streaks and droplets requires an unusual tool: a potato. Though this isn’t necessary, rubbing a sliced potato on the outside of your dome before getting in prevents streaks.
A flash is needed to light the foreground. If you don’t use a flash, your subjects will likely appear underexposed; lacking color, contrast and clarity. This is especially true if you shoot during sunset with lower ambient light. In most cases, a single flash works. It is possible to shoot without lighting only if conditions are bright and clear, such as in a shallow tropical reef on a sunny day.
Using an external monitor can help with composition. A monitor enlarges your camera’s screen and makes it visible at various angles. Lastly, tripod legs can be used to stabilize the housing in shallow pools or used as a brace for deeper ones.
Related Reading: 3 Underwater Photo Skills You Should Master
Settings for Split-Shots
Using specific settings will help you capture splits. First, use a stopped-down aperture in the range of f/16 to f/22 or as high as you can go. This is extremely important, as the increased depth of field will make sure as much of the image is as sharp as possible. Without a higher aperture, half of your image will be significantly less sharp.
Shutter speed and ISO are dependent on ambient light. For shutter speed, pick one that freezes motion, at least 1/125. Shutter speed can change depending on style. ISO will be dependent on ambient light, with lower ones being used for brighter backgrounds and higher ISOs used for lower light. If you shoot in bright sunlight, expect to use ISOs from 100 to 400, and if you’re capturing shots near sunset, use higher ISOs, such as 800 to 6400.
Using your camera’s continuous shooting mode also helps, as it allows for multiple frames to be captured in quick succession, increasing your chances of getting a keeper.
Related Reading: How to Use Snoots to Light Your Macro Photography
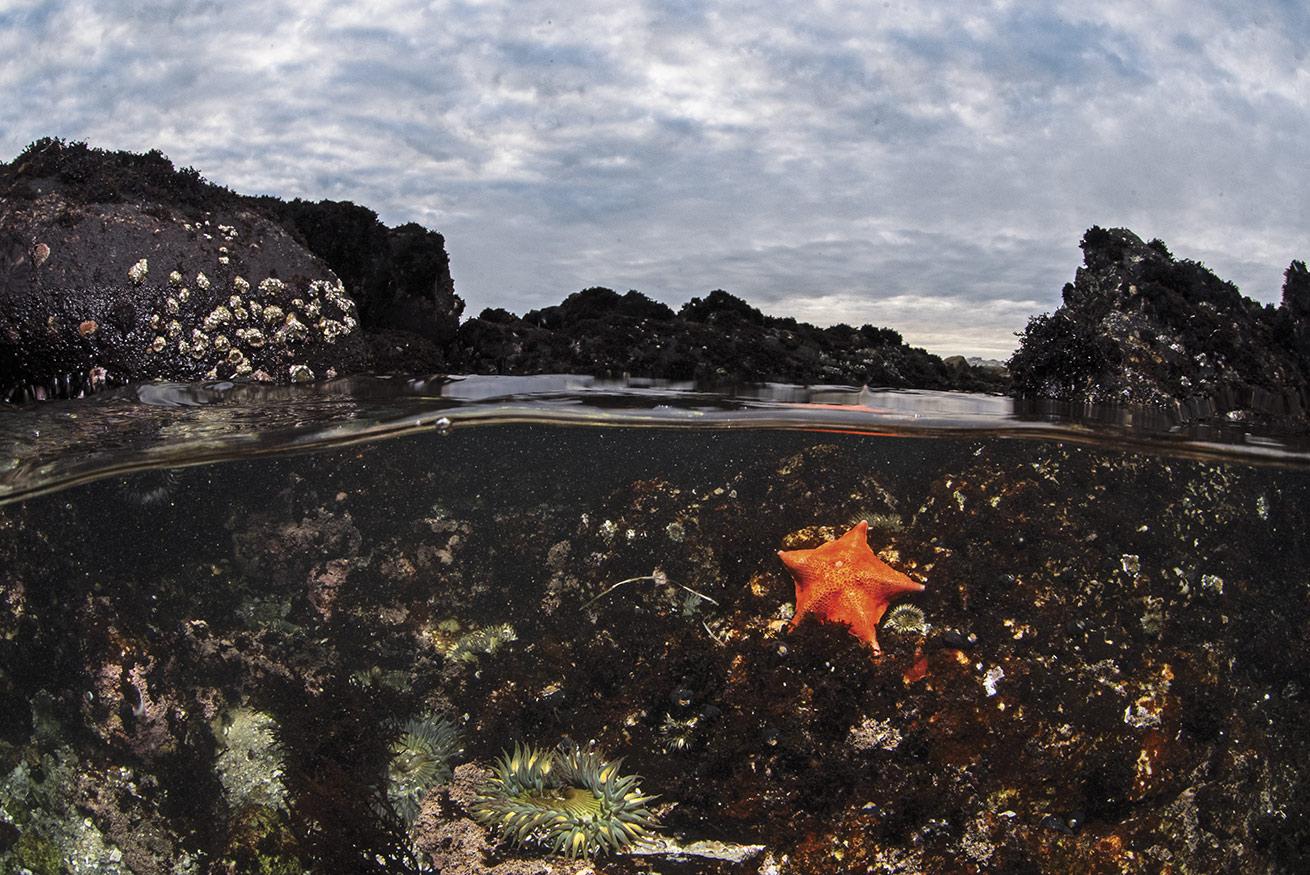
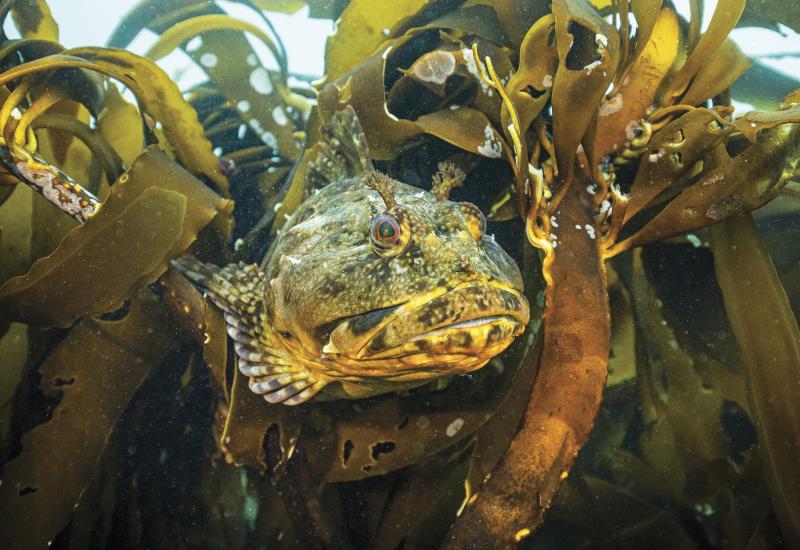
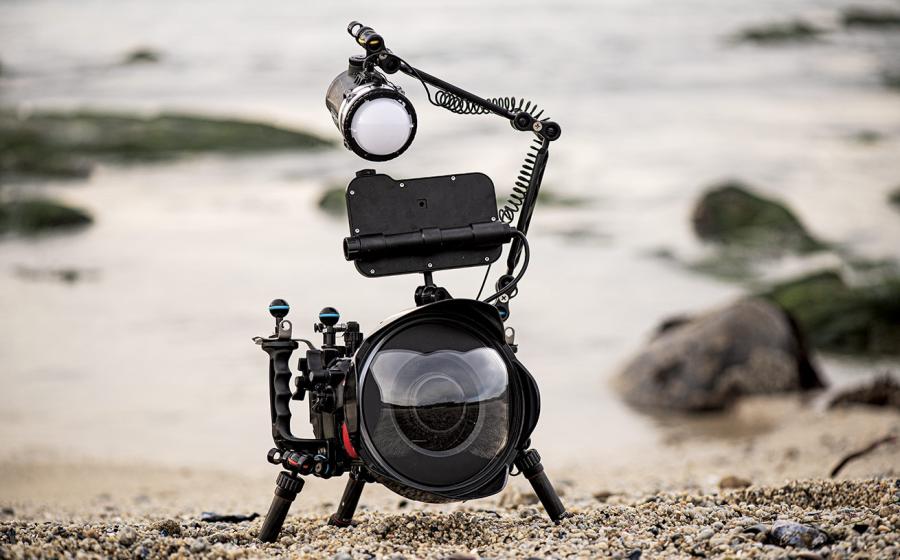
Thomas AndersonThis tide pool split was captured using a Sony a7S III camera and Canon EF 8-15mm fisheye lens with a Metabones adapter. A Backscatter Hybrid Flash was used to light the foreground.
Technique for Achieving Great Split-Shots
Tide pools are slippery and can have unpredictable surf. Be careful when traversing them with your precious camera equipment, and try to avoid days with large waves. Tide levels depend on location and can be checked ahead of time online. Sites with deep pools can be worked on lower tides, while other locations that need more water to explore will need a rising tide on a day with calm surf. Also, be sure to stretch beforehand, as you will be doing a lot of “tide pool yoga” when composing your shot.
With that said, find a foreground subject with an interesting background. The topside portion is critical since it tells an important part of your split-shot story.
Once you have composed a shot, take a test photo (without flash) to dial in the exposure of the background. Then, take test shots with your flash to find the appropriate power level to light the foreground. In shallow pools, it is easier to position your flash above water, pointing down, while you can submerge your strobe beneath your housing in deeper pools. With your settings configured, lock focus on your foreground subject. Next, submerge your housing underwater and lift it while continuously firing. More photos captured means you have a better chance of getting an image without water droplets and a good, even water line. Now repeat this process. A lot. This is an accuracy-by-volume game, so shoot more than you think you need to.
I hope this inspired you to get out and shoot photos in the unique and beautiful tide pool environment. These tips can help with split-shots in deeper environments as well. Be sure to play with your images and get creative with camera angles, reflections, anti-splits and more!