The Camera Coach: Your Guide to Creating UW Video

By Annie Crawley
With the explosion of video cameras and desktop editing programs, becoming a filmmaker has never been easier. Nearly every single digital camera on the market today has the capability of shooting video as well as still images. Here are the most important tips and tricks you need to plan, shoot and edit a short film--both above and below water.
Create The Story
Every production needs to start with a story, so before you start filming, think of one you want to tell. When creating your story, develop the outline or script with your audience in mind. Who do you want to show your video to? Who do you want to share your experiences with? You can use the same footage in multiple storylines, but you need to consider who will watch your film as you create it.
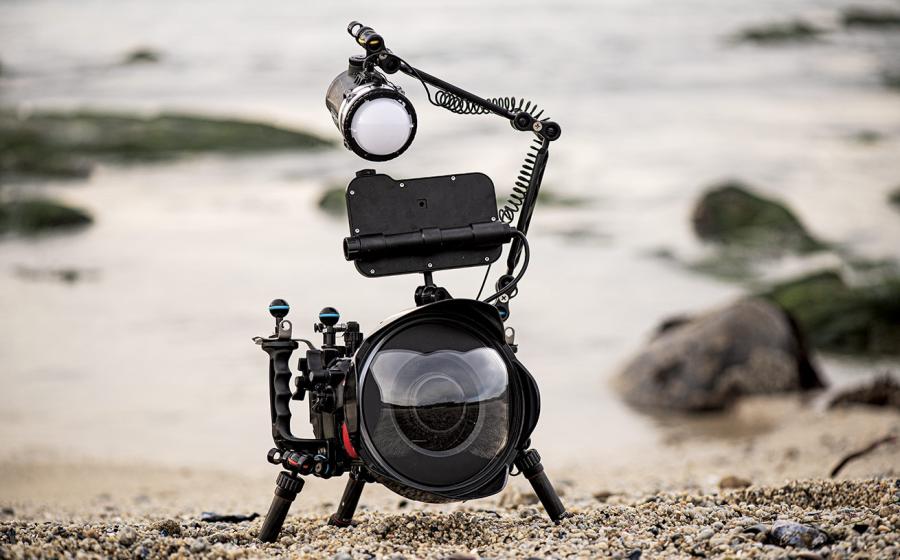
Choose A Camera System
When purchasing a video system, ensure your computer editing system can understand the format and codec--technology that compresses or decompresses data--that your camera uses, plus make 13sure you can purchase a housing for the camera. There are a plethora of cameras, computers and housings on the market, and it's imperative when choosing your system that all three are compatible. Once you purchase your system, practice with it on land before you take it underwater.
Read The Manual
Have a party with yourself, your camera and the manual. Read the manual for your camera, and practice with the two together. Can you focus, expose and compose a scene? Do you understand how the white balance works on your system? Become familiar with all the buttons and knobs because it is a lot easier to learn on land than it is underwater.
Compose, Shoot, Stop And Move
When practicing with your camera, whenever possible, move your body, not the zoom control. Get in the habit of being close to your subjects because underwater you want the least amount of water between you and what you're filming. Then keep in mind this rule: Compose, Shoot, Stop and Move. And then put it into practice. Choose something to film and compose the shot or scene, shoot it, stop the filming and then move. Do it again! Practice shooting in manual focus. If you film in autofocus repeatedly, your camera will zip in and out of focus because on land it can't lock on the subject as it moves in and out of frame, and underwater the autofocus feature may cause your camera to slip out of focus because of the particles in the water column.
Use Auto-White Balance
Many of the point-and-shoot video systems have auto-white balance. White balance basically means color balance. The white balance function of your camera tells the camera what "true white" is. Because white light is all colors in the spectrum, this feature will color balance your camera. When shooting in a daylight setting or indoor lighting, the auto-white balance works great. If your camera and underwater system allows you to manually white balance your camera, do this when shooting in mixed lighting conditions and underwater to get much better color results. Carrying a white slate underwater will allow you to white balance your camera.
Avoid Camera Shake
When holding a camera, use either a tripod or monopod or be able to use your body in a way to prevent unnecessary camera shake. Avoid making your audience seasick when they view your footage. Make sure you focus the viewfinder to your eyesight so your images are in focus, and know that in bright sunlight you may not be able to view your LCD screen.
Once you grasp the basic mechanics of cinematography and understand how to focus, expose and compose a scene, start thinking about shot technique and what needs to be recorded to sequence a story together visually. Shooting and editing go hand in hand.
Create A Sequence
Sequences strung together create your story visually. A variety of shots create a sequence--in very basic terms wide, medium and close-up shots edited together make a sequence. The next time you watch television or your favorite movie, turn the sound off and watch how the story is pieced together visually.
The wide shot sets the scene and draws the viewer into the story. The medium shot introduces the subjects and the close-ups make the viewer focus in on something of importance. You need a wide variety of these types of shots to tell your story visually. Also move the camera around to give the viewer different angles. This helps your visual story when you edit. You can take a variety of the standard shots such as medium wide shots, medium close-up and extreme close-up shots.
Every shot you record, you want to try and record three to four extra seconds before and after the "action." This is called a "handle" and will allow flexibility in transitions during your editing.
Use The Rule-Of-Thirds
When composing scenes be aware of the rule-of-thirds. Avoid putting something directly into the center of frame because it's not pleasing to the eye. With video you need to apply this imaging rule with regard to motion and action too. There are some exceptions to this, like if the subject is playing to the camera. You need to frame your subject going left to right, right to left, entering and exiting. All of these motions will become important when you try and put the puzzle together at the computer.
Consider Foregrounds & Backgrounds
When filming, consider the foreground and background. Do you want a blue-water background? A reef? What do you want your viewers to see? Backgrounds can be very distracting or they can help make the video look terrific. The wrong foreground can be distracting to your subject too. Avoid shooting from a distance and zooming in--with good buoyancy and an understanding of your subjects, you'll be able to get close to your subjects. Underwater, an animal views you as a bubble-blowing monster, so try to be as quiet and stealthy as possible.
Lighting The Scene
In order to get the best exposure, shoot with the sun at your back. There are only a few exceptions to having the sun at your back, such as if you are creating a certain mood or look, like a silhouette. Video needs light, and you will only get color if the main light is behind you.
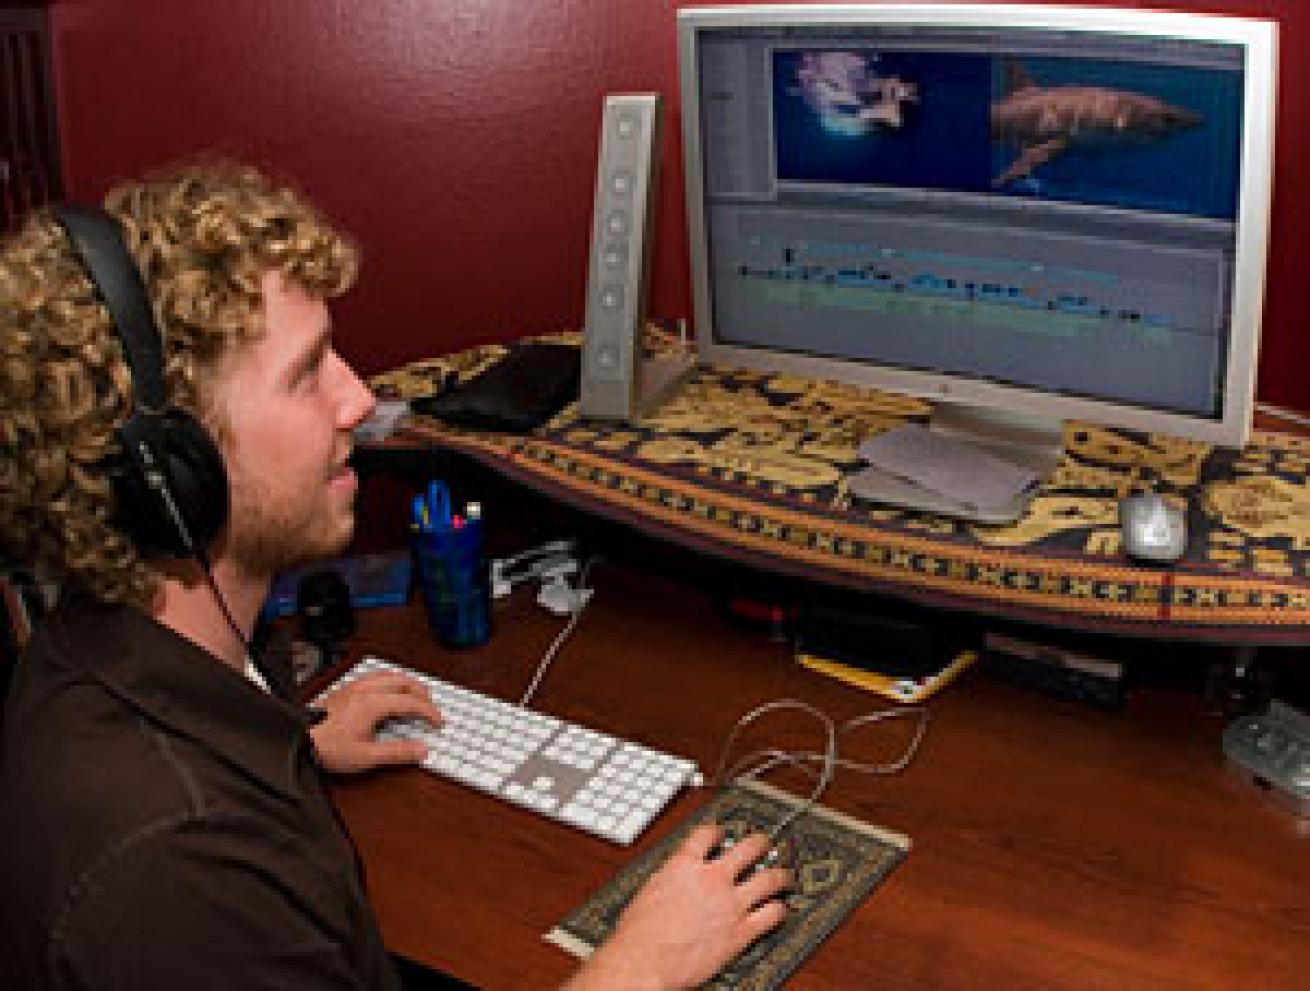
Make Field Edits
After you shoot on land or underwater, review your footage. With a laptop and external hard drive you can edit in the field instead of waiting until you get home. Check to ensure you carry the correct firewire cables for your hard drive and camera to connect to the computer. Logging footage may be a tedious process, but well worth it in the end. You will know immediately if your focus and exposure are correct. The pacing of your film will depend on the amount of shots you have to create sequences and stories. When cutting between shots, cut on action! If you understand your camera system and basic filmmaking on land, you can take the plunge underwater much easier! For more tips, go to diveintoyourimagination.com/index.php/Camera-Coach.
Tips
Create and carry a basic spare parts kit. The kit should include: regular sized Qq-Tips, a nickel and a dime, Long stick Tips, a lint free towel, o-ring grease, a plastic o-ring puller, small shammie or lint free towel, crazy glue, a set of jewelers screw drivers, tweezers, tool kit, sand paper and toothbrushes. Have an extra set of screws for your camera and housing too. If you need a special screw for a mounting plate, for your lights, base plates, anything that you may lose or forget, have it in your save your trip kit. In addition, when in the field, I always bring an extra set of o-rings for my housing and any other manufacturer parts I could self-service.
Carry camera, housing and computer manuals with you at all times. You never know when you are going to get an error message or need to refer to a manual. Often when you are in humid environments your camera may give you error messages. If you have the manual and you will find the problem and may be able to act immediately. Because every manufacturer has a different protocol, read the manufacturer's recommendations for care and maintenance of camera and housing during and after the trip.
After you return home from your holiday, you want to rinse your equipment in fresh water turning and pressing any knobs or buttons, soaking for a few hours, even if you did this at the end of your trip in the boat's or hotel's fresh water. Often foreign places have salt and mineral deposits in their water that you do not want left on your camera housing and ports. Dry equipment thoroughly. Remove all self-serviceable o-rings, grease them and put them in ziplock plastic bags lying flat. Keep your equipment stored in a cool dark place, ready for it's next use.
Continue using your equipment on land! The more you use the system, the better storyteller you become!
Checklist
Plan what you want to shoot before getting into the water. Visualize it.
Make sure your dive buddy/model knows your communication signals and discuss what you expect and want them to do for you underwater. Create unique hand signals to make communication easier.
Have a white slate for white balancing. A white slate with a pencil also allows you to write messages if needed.
Research what you will see and want to film.
Make sure your lens and port is clean, check how much tape or hard drive space you have. Make sure your batteries have a full charge. Verify full operation by working all essential controls: on/off, zoom, record, focus lock, white balance.
As soon as you get in the water look at your port and wave your hand in front of it to dislodge any bubbles or particles from the surface of the port. You need to do this multiple times during the dive. You physically need to turn your system around and look at the front port.
Look up and figure out where the sun is. Shoot with the sun at your back unless you purposely plan a silhouette shot. Silhouettes can be extraordinarily dramatic in the right circumstances with enough distance between the camera, subject and sun, yet the golden rule in lighting keeps the sun at your back. Even on a cloudy day the direction of the sun matters.
Compose your shot before hitting record, use the rule of thirds and ensure you leave "fish" room for your subjects just like we would leave head room for people. You want to hold the system as steady as possible, use a tripod for macro shots. Think of the camera angle and what is pleasing to your eye. Avoid shooting down at subjects unless you are going for a specific look.
Shoot 4-6 seconds of handles on the front and end of every shot. You want to make sure your camera is rolling before the action takes place and have extra on the end of your clip when action is finished so you can edit the clips together.
Compose, Record, Stop, Move. Compose, Record, Stop, Move. Think of your edit. How are you going to piece your shots together? Consider the rule of thirds, your foreground and background while capturing the following shots together on every dive you make: Wide Shot, medium shot, close up shot, reveal, tracking, pan left to right, right to left, static (camera is still subject moves), motion (swim while recording), point of view, silhouette.
Video is all about motion, think about how you are going to get action into your images. You can allow your subject to swim in and out of your shots or you can create the motion by swimming with the camera. You want to combine reveals, tracking and over the shoulder shots to completely tell your story and make your life easy at the edit station. Try and avoid the subject just popping up in the middle of the frame! Start with a pan left or right, or a tilt up or down that will introduce your subject to the frame.
Take the last 5 minutes of the dive to try something new! Shoot 30 seconds of a wild camera angle, pan or manual expose a shot you would not necessarily do. Watching these tests might inspire your next creative technique.
Once you exit the water, take care of your equipment and dry off your port to avoid water stains. Follow the manufacturer recommendations. I use a lens cleaner and lens wipes on my dome port after I rinse it after every dive because I do not want water stains on my port. Take the time to review and log your tape or hard drive everyday! This way you know immediately how to make corrections or if your day was successful!
By Annie Crawley
With the explosion of video cameras and desktop editing programs, becoming a filmmaker has never been easier. Nearly every single digital camera on the market today has the capability of shooting video as well as still images. Here are the most important tips and tricks you need to plan, shoot and edit a short film--both above and below water.
Create The Story
Every production needs to start with a story, so before you start filming, think of one you want to tell. When creating your story, develop the outline or script with your audience in mind. Who do you want to show your video to? Who do you want to share your experiences with? You can use the same footage in multiple storylines, but you need to consider who will watch your film as you create it.
Choose A Camera System
When purchasing a video system, ensure your computer editing system can understand the format and codec--technology that compresses or decompresses data--that your camera uses, plus make 13sure you can purchase a housing for the camera. There are a plethora of cameras, computers and housings on the market, and it's imperative when choosing your system that all three are compatible. Once you purchase your system, practice with it on land before you take it underwater.
Read The Manual
Have a party with yourself, your camera and the manual. Read the manual for your camera, and practice with the two together. Can you focus, expose and compose a scene? Do you understand how the white balance works on your system? Become familiar with all the buttons and knobs because it is a lot easier to learn on land than it is underwater.
Compose, Shoot, Stop And Move
When practicing with your camera, whenever possible, move your body, not the zoom control. Get in the habit of being close to your subjects because underwater you want the least amount of water between you and what you're filming. Then keep in mind this rule: Compose, Shoot, Stop and Move. And then put it into practice. Choose something to film and compose the shot or scene, shoot it, stop the filming and then move. Do it again! Practice shooting in manual focus. If you film in autofocus repeatedly, your camera will zip in and out of focus because on land it can't lock on the subject as it moves in and out of frame, and underwater the autofocus feature may cause your camera to slip out of focus because of the particles in the water column.
Use Auto-White Balance
Many of the point-and-shoot video systems have auto-white balance. White balance basically means color balance. The white balance function of your camera tells the camera what "true white" is. Because white light is all colors in the spectrum, this feature will color balance your camera. When shooting in a daylight setting or indoor lighting, the auto-white balance works great. If your camera and underwater system allows you to manually white balance your camera, do this when shooting in mixed lighting conditions and underwater to get much better color results. Carrying a white slate underwater will allow you to white balance your camera.
Avoid Camera Shake
When holding a camera, use either a tripod or monopod or be able to use your body in a way to prevent unnecessary camera shake. Avoid making your audience seasick when they view your footage. Make sure you focus the viewfinder to your eyesight so your images are in focus, and know that in bright sunlight you may not be able to view your LCD screen.
Once you grasp the basic mechanics of cinematography and understand how to focus, expose and compose a scene, start thinking about shot technique and what needs to be recorded to sequence a story together visually. Shooting and editing go hand in hand.
Create A Sequence
Sequences strung together create your story visually. A variety of shots create a sequence--in very basic terms wide, medium and close-up shots edited together make a sequence. The next time you watch television or your favorite movie, turn the sound off and watch how the story is pieced together visually.
The wide shot sets the scene and draws the viewer into the story. The medium shot introduces the subjects and the close-ups make the viewer focus in on something of importance. You need a wide variety of these types of shots to tell your story visually. Also move the camera around to give the viewer different angles. This helps your visual story when you edit. You can take a variety of the standard shots such as medium wide shots, medium close-up and extreme close-up shots.
Every shot you record, you want to try and record three to four extra seconds before and after the "action." This is called a "handle" and will allow flexibility in transitions during your editing.
Use The Rule-Of-Thirds
When composing scenes be aware of the rule-of-thirds. Avoid putting something directly into the center of frame because it's not pleasing to the eye. With video you need to apply this imaging rule with regard to motion and action too. There are some exceptions to this, like if the subject is playing to the camera. You need to frame your subject going left to right, right to left, entering and exiting. All of these motions will become important when you try and put the puzzle together at the computer.
Consider Foregrounds & Backgrounds
When filming, consider the foreground and background. Do you want a blue-water background? A reef? What do you want your viewers to see? Backgrounds can be very distracting or they can help make the video look terrific. The wrong foreground can be distracting to your subject too. Avoid shooting from a distance and zooming in--with good buoyancy and an understanding of your subjects, you'll be able to get close to your subjects. Underwater, an animal views you as a bubble-blowing monster, so try to be as quiet and stealthy as possible.
Lighting The Scene
In order to get the best exposure, shoot with the sun at your back. There are only a few exceptions to having the sun at your back, such as if you are creating a certain mood or look, like a silhouette. Video needs light, and you will only get color if the main light is behind you.
Make Field Edits
After you shoot on land or underwater, review your footage. With a laptop and external hard drive you can edit in the field instead of waiting until you get home. Check to ensure you carry the correct firewire cables for your hard drive and camera to connect to the computer. Logging footage may be a tedious process, but well worth it in the end. You will know immediately if your focus and exposure are correct. The pacing of your film will depend on the amount of shots you have to create sequences and stories. When cutting between shots, cut on action! If you understand your camera system and basic filmmaking on land, you can take the plunge underwater much easier! For more tips, go to diveintoyourimagination.com/index.php/Camera-Coach.
Tips
Create and carry a basic spare parts kit. The kit should include: regular sized Qq-Tips, a nickel and a dime, Long stick Tips, a lint free towel, o-ring grease, a plastic o-ring puller, small shammie or lint free towel, crazy glue, a set of jewelers screw drivers, tweezers, tool kit, sand paper and toothbrushes. Have an extra set of screws for your camera and housing too. If you need a special screw for a mounting plate, for your lights, base plates, anything that you may lose or forget, have it in your save your trip kit. In addition, when in the field, I always bring an extra set of o-rings for my housing and any other manufacturer parts I could self-service.
Carry camera, housing and computer manuals with you at all times. You never know when you are going to get an error message or need to refer to a manual. Often when you are in humid environments your camera may give you error messages. If you have the manual and you will find the problem and may be able to act immediately. Because every manufacturer has a different protocol, read the manufacturer's recommendations for care and maintenance of camera and housing during and after the trip.
After you return home from your holiday, you want to rinse your equipment in fresh water turning and pressing any knobs or buttons, soaking for a few hours, even if you did this at the end of your trip in the boat's or hotel's fresh water. Often foreign places have salt and mineral deposits in their water that you do not want left on your camera housing and ports. Dry equipment thoroughly. Remove all self-serviceable o-rings, grease them and put them in ziplock plastic bags lying flat. Keep your equipment stored in a cool dark place, ready for it's next use.
Continue using your equipment on land! The more you use the system, the better storyteller you become!
Checklist
Plan what you want to shoot before getting into the water. Visualize it.
Make sure your dive buddy/model knows your communication signals and discuss what you expect and want them to do for you underwater. Create unique hand signals to make communication easier.
Have a white slate for white balancing. A white slate with a pencil also allows you to write messages if needed.
Research what you will see and want to film.
Make sure your lens and port is clean, check how much tape or hard drive space you have. Make sure your batteries have a full charge. Verify full operation by working all essential controls: on/off, zoom, record, focus lock, white balance.
As soon as you get in the water look at your port and wave your hand in front of it to dislodge any bubbles or particles from the surface of the port. You need to do this multiple times during the dive. You physically need to turn your system around and look at the front port.
Look up and figure out where the sun is. Shoot with the sun at your back unless you purposely plan a silhouette shot. Silhouettes can be extraordinarily dramatic in the right circumstances with enough distance between the camera, subject and sun, yet the golden rule in lighting keeps the sun at your back. Even on a cloudy day the direction of the sun matters.
Compose your shot before hitting record, use the rule of thirds and ensure you leave "fish" room for your subjects just like we would leave head room for people. You want to hold the system as steady as possible, use a tripod for macro shots. Think of the camera angle and what is pleasing to your eye. Avoid shooting down at subjects unless you are going for a specific look.
Shoot 4-6 seconds of handles on the front and end of every shot. You want to make sure your camera is rolling before the action takes place and have extra on the end of your clip when action is finished so you can edit the clips together.
Compose, Record, Stop, Move. Compose, Record, Stop, Move. Think of your edit. How are you going to piece your shots together? Consider the rule of thirds, your foreground and background while capturing the following shots together on every dive you make: Wide Shot, medium shot, close up shot, reveal, tracking, pan left to right, right to left, static (camera is still subject moves), motion (swim while recording), point of view, silhouette.
Video is all about motion, think about how you are going to get action into your images. You can allow your subject to swim in and out of your shots or you can create the motion by swimming with the camera. You want to combine reveals, tracking and over the shoulder shots to completely tell your story and make your life easy at the edit station. Try and avoid the subject just popping up in the middle of the frame! Start with a pan left or right, or a tilt up or down that will introduce your subject to the frame.
Take the last 5 minutes of the dive to try something new! Shoot 30 seconds of a wild camera angle, pan or manual expose a shot you would not necessarily do. Watching these tests might inspire your next creative technique.
Once you exit the water, take care of your equipment and dry off your port to avoid water stains. Follow the manufacturer recommendations. I use a lens cleaner and lens wipes on my dome port after I rinse it after every dive because I do not want water stains on my port. Take the time to review and log your tape or hard drive everyday! This way you know immediately how to make corrections or if your day was successful!