Five Tips for Better Fish Photos

October 2007
Text and Photography by Stephen Frink
I just finished teaching an advanced digital underwater photo class in my home waters of Key Largo, Fla. During the course, we dive and photograph together in order to see how different photographers choose to execute the same photo opportunities. The participants were all experienced shooters, so when they started calling me "Fish Whisperer," for my ability to consistently coax skittish fish into my frame, I was more than a little proud.
To their question, "How'd you do that?" I had no immediate answer other than to facetiously suggest, "Ahhh, Grasshopper: Be one with the sea and great fish pictures will evolve." All joking aside, I do think there is a Zen side to it all. I can't prove it, but I think that the fish has to believe you mean it no harm, and that might very well be something a diver can project by his actions.
Here are my top five tips for getting close and bringing home superior fish photography. Put these tips to work and you, too, can be a Fish Whisperer.
Go Where the Fish Are
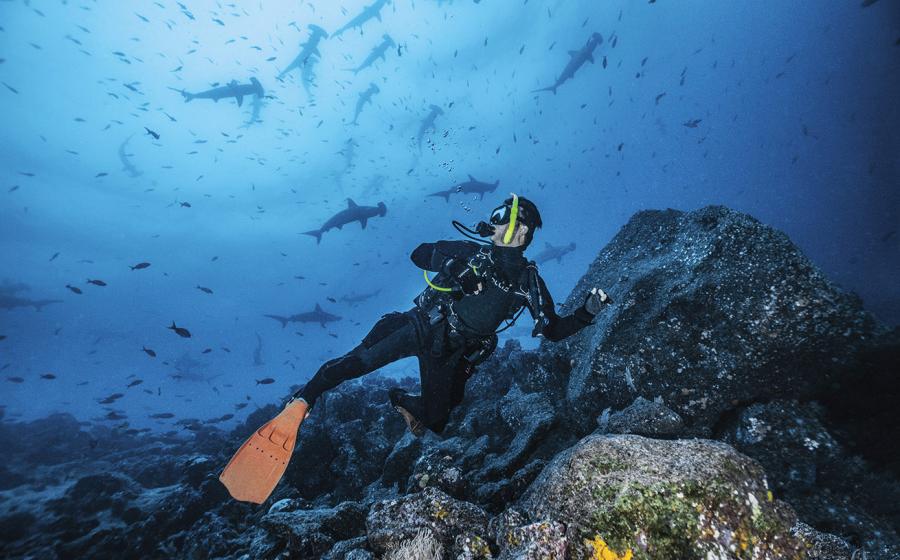
I realize this is kind of an obvious one, but fish populations are under a lot of pressure these days. There are plenty of places in the world that have gorgeous water clarity and impressive reefs, but only a relatively few, skittish fish. A photographer seeking fish portraits will find these reefs frustrating. Your odds of capturing fish portraits increase in marine parks and protected areas.
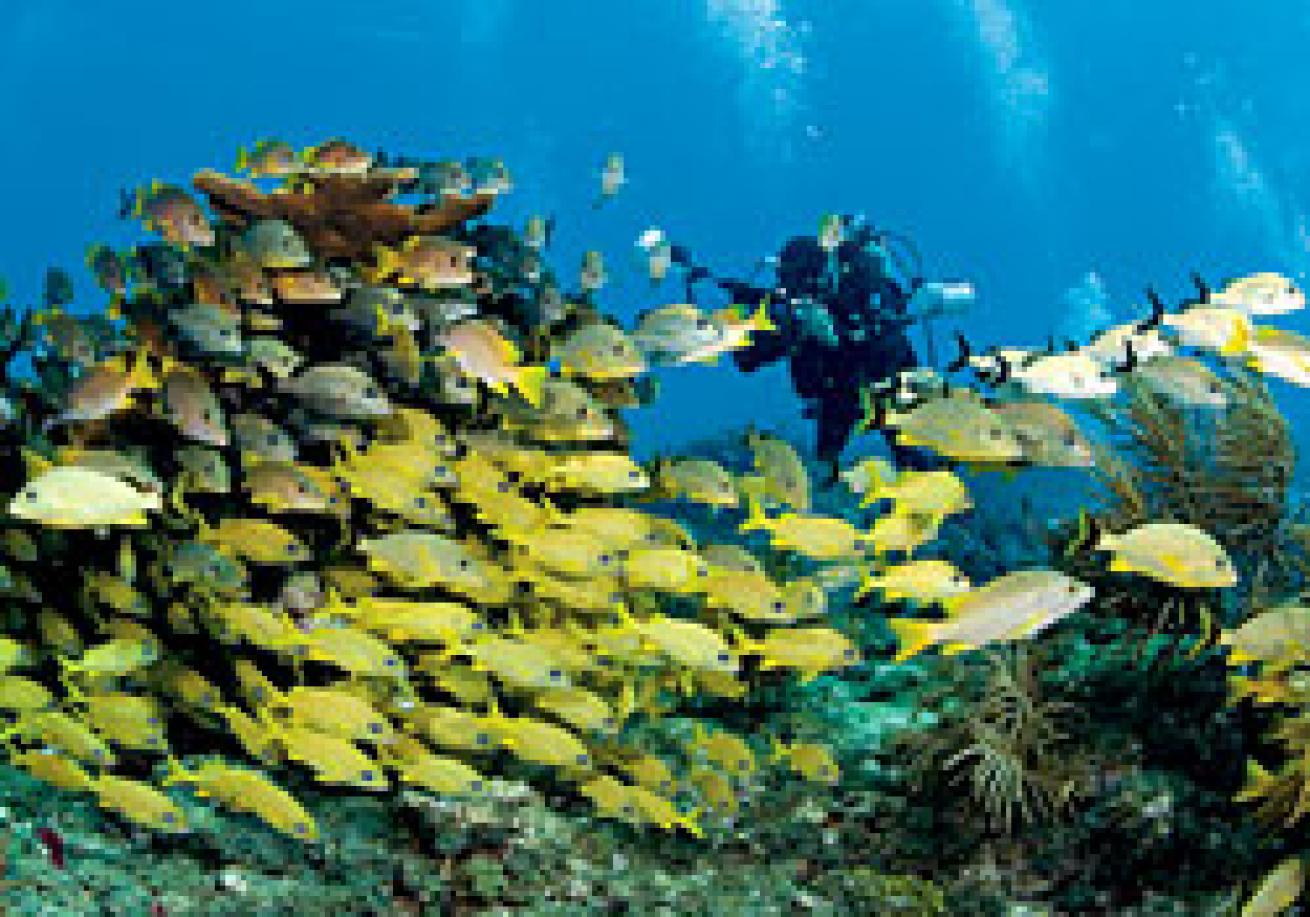
Key Largo has enjoyed decades of protection from spearfishing, and now has even greater restrictions on hook-and-line fishing within the Sanctuary Preservation Areas of the Florida Keys National Marine Sanctuary. As a result, the fish are both plentiful and approachable. Bonaire is another destination with a strong legacy of marine conservation and plenty of fish to shoot. In fact, according to the fish experts at the Reef Environmental Education Foundation (REEF), Bonaire is home to 20 of the 25 top Atlantic/Caribbean reefs for diversity of fish life. Key Largo is home to three of the richest fish sites.
Even in the far reaches of presumably pristine areas like Indonesia, some areas are better than others. For example, I was in Raja Ampat earlier this year and I found the fish to be surprisingly difficult to photograph. I had assumed that because I was in a remote area, with little diving pressure, I would be able to sneak up on these unsuspecting fish and they would swarm to the front of my dome. That wasn't the case, leading me to conclude that, in fact, the opposite might be true-not seeing many divers may make fish even more skittish. Whatever the reason, I found that when I dived Bali's Tulamben region later in the week, the fish photography was far more productive. Plus, local dive and hotel businesses realize that it is in their collective best interest to protect their resident marine life, and the fish are significantly more accessible as a result.
Improve Your Diving Skills
Good buoyancy and breath control are vital to capturing quality fish photographs. Carrying too much weight will often cause excessive finning, thereby stirring up the bottom sediment and creating backscatter. I like to achieve slightly negative buoyancy so that when I dump the air from my BC, I can settle onto the sand solidly for those upward angles of fish or divers, or lay down comfortably on my belly to capture species such as the yellowhead jawfish who burrow into the seafloor. When it's time to go, a light tap on the power inflator is all I need to lift off the bottom and avoid kicking up silt and sand that will ruin the shot for other photographers.
Breathing control is even more important for a photographer on open-circuit scuba. Fish definitely react to exhaust noise, so be aware that once you exhale, it might be your last shot. I'm not suggesting you hold your breath excessively, but it's vital to control your breathing when you are critically close to your subject. I typically watch the fish from a distance for a while and try to get a sense of its swimming pattern. When I can anticipate where the fish is headed, I position myself for the shot by swimming to meet it. Once that decision is made, it's relatively easy to regulate my breathing so that I can capture multiple shots before I have to exhale.
Master the Shoot Zone
There is a sweet spot for fish photography I like to call the shoot zone. It's a fairly small sphere, at most five feet in radius from the subject, where great fish photos can happen. If you're more than five feet from a fish, you won't get good color or resolution, so you have to get close-but not too close, or you risk scaring the fish away. Once you enter that sphere, things can happen quickly, so you want to avoid unnecessary motion, noise or bubbles that might spook your subject. Here's how to be prepared before entering the shoot zone:
Previsualize Know your lens well enough to see in your mind's eye what options are available to you once you hit the shoot zone. Recently, I was working a barracuda at a cleaning station, and because I had a 100mm macro on at the time, I knew a fairly tight head shot was all I could manage from a distance of two to three feet away. On another dive that same day, I found a cooperative blue angelfish and because I had my 24-70mm zoom mounted, I had far more compositional choices.
Adjust Settings and Strobes Knowing what the image will look like through the groundglass, and knowing how close you'll have to get to achieve that composition, is critical for presetting the camera controls and strobe positions. Inside the shoot zone is not the place to be fiddling with strobe arms or taking meter readings. Have your eye to the viewfinder and your finger on the trigger. Once you capture the first image, you can try different variations, but that first shot may be the only one you get, so make it count.
Know your subject's tolerance Restrict your movements. Clearly, this advice relates primarily to potentially skittish fish. With sedentary subjects, like stonefish or crocodilefish, do all the strobe-arm-fiddling and bubble-belching you want. Proper buoyancy control is always crucial to avoid stirring up the water column and creating backscatter.
Choose the Right Photo Gear
For better fish portraits, you may need to upgrade some or all of your gear. The biggest single issue to consider, especially in point-and-shoot systems, is digital lag-that annoying little delay that occurs between the time you push the shutter button and the time the camera actually takes the picture. Even a small delay can mean the difference between a well-composed image and a shot of the tail of a fleeing fish. Newer digital compacts have greatly reduced digital lag, and with digital SLRs it's rarely an issue, but there are tens of thousands of early point-and-shoots out there, and those photographers know well the angst of composing the perfect fish picture, only to have the fish swim off by the time the camera gets around to capturing the image. (For tips on underwater photography with digital compacts, see www.scubadiving.com/article/perfecting_point_and_shoot.)
The viewfinder of your housing can also make a big difference in terms of critical focus and precise composition. More and more housing manufacturers-including Subal, Seacam and Aquatica-are offering enlarged accessory viewfinders. Light and Motion has a prototype for an enlarged viewfinder as well. For shooters with 20/20 vision this may not matter as much, but for the presbyopic diver (like me) having a magnified field of view reveals the camera settings in the viewfinder more clearly, and allows accurate focus confirmation.
The more shots you can pack into a dive, the higher the odds of bagging a keeper. Now that 8GB memory cards cost as little as $150, there's no reason not to load up on as much storage as you can. Camera batteries have also gotten better and are up to the task of shooting 500 images on a single dive. Strobes have also come a long way. An old Nikon SB105 with alkaline batteries will crap out long before that 8GB card is filled, but an Ikelite DS125 equipped with the new NiMH battery pack will power through and keep recycling quickly.
Choose Dive Gear Wisely
Serious photographers obviously put a lot of thought into their camera equipment, but the best shooters are the ones who think about their dive gear, too. You'll take better images if you invest in:
A Good Mask For photographers, a good mask should absolutely, positively have a black silicone skirt. With SLR housings, for example, the photographer is obligated to put his mask against a viewfinder, and any stray light coming in from the side of the mask will decrease contrast and obscure detail on the groundglass. Clear silicone skirts and masks with side windows to enhance peripheral vision are definitely counterproductive for photography.
Better Fins As a photographer you need a pair that has it all: speed, maneuverability, and the ability to allow you to scull, move backward and hover in place. For many years, I believed that only paddle fins could provide the control I needed for close-in work. I've since discovered that there are some (though not all) split fin designs that work just as well. The split fins I find most useful for underwater photography have relatively stiff blades and a thick, semi-rigid rail, but choosing fins is a personal decision and you should try as many fins as possible to find a pair that's right for you. For more information on fin choices, look for the 2007 ScubaLab fin review in the November issue. Past fin reviews are also available online at www.scubadiving.com/gear/fins.
Better Thermal Protection It's hard to concentrate on fish photography (or anything else for that matter) when you're shivering. The investment in top-quality exposure protection can pay dividends in the form of better shots, especially if you need to stay still for long periods of time while stalking an elusive subject.

