How to Clear a Flooded Mask while Scuba Diving
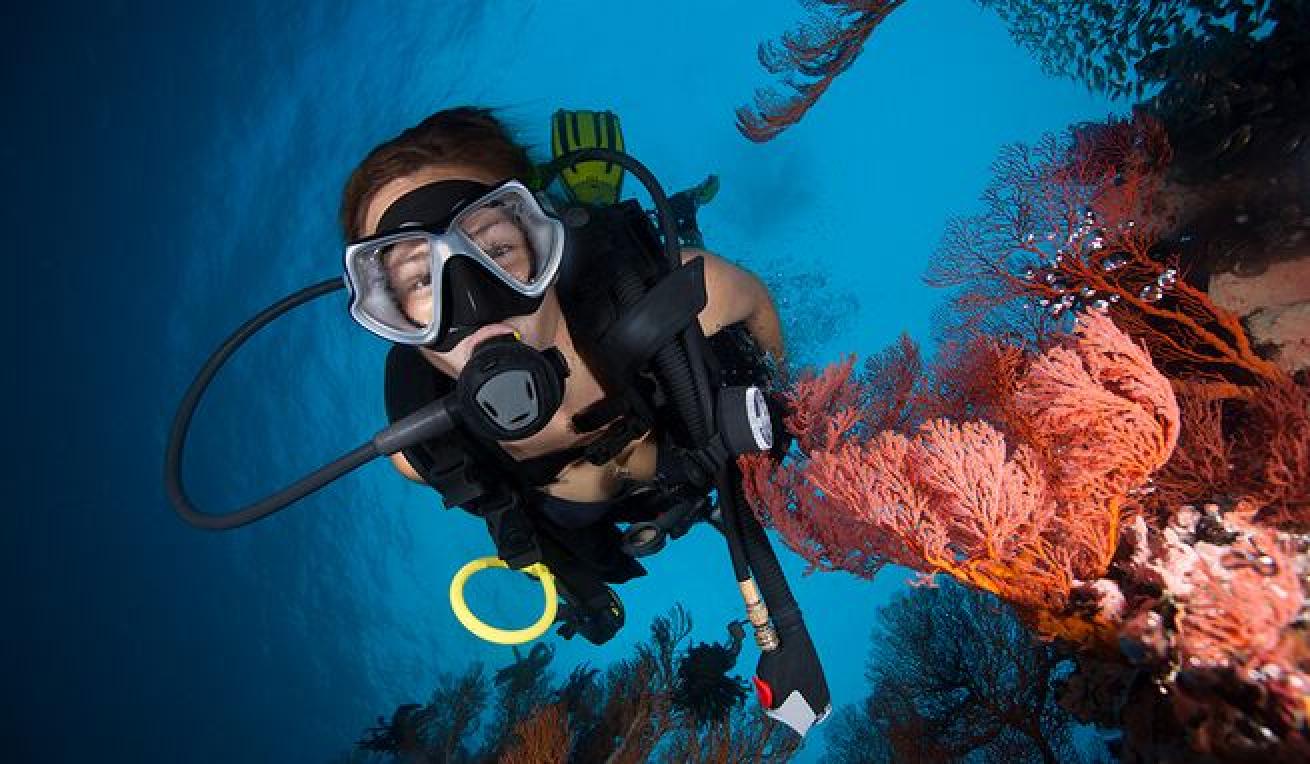
Daniel Wilhelm Nilsson/Shutterstock.comThe humble dive mask plays an important part in allowing you to dive comfortably, but when you’re a brand-new diver, it can be disorienting — and even scary — to deal with a partial or total mask flood. Follow our pro tips to perform this skill as easily as putting on a pair of sunglasses.
I remember practicing — and finally mastering — the flooded dive mask-clearing skill in my open water scuba diving class all too well. I had been a lifeguard as a teen and college student, so lots of the skills we did in the open water course — the 200-meter swim, treading water, clearing a snorkel — were easy to do. But removing my mask underwater, putting it back on, and then clearing it of water? It was something that I did quickly, and one that I didn’t want to repeat. When I had to do it as part of the confined-water test, I was determined to do it once, just like regulator recovery, as I found it unpleasant.
But practicing mask-clearing after you’ve passed it in your open water class is valuable — it’s probably the one skill you’ll perform most often as a diver. Now that I have hundreds of dives under my belt, I clear water out of my mask at least once or twice every dive — and during one stretch, when I was diving with a mask with a warped silicone mask skirt, more often than I could count during a single dive. A misshapen mask can lead to constant flooding, but the reasons for a partially or totally flooded mask are myriad — everything from some stray hairs and smiling underwater to a strong current can break your mask’s seal.
So, if you’re a brand-new diver, and you passed this skill but hope you never, ever have to do the mask-clearing skill again, you may find these tips helpful.
Related Reading: Getting Scuba Certified in the Florida Keys
CLEARING A PARTIALLY FLOODED MASK
In your open water class, you practice clearing a completely flooded mask, but it’s actually more common to have a partially flooded mask plaguing you during a dive.
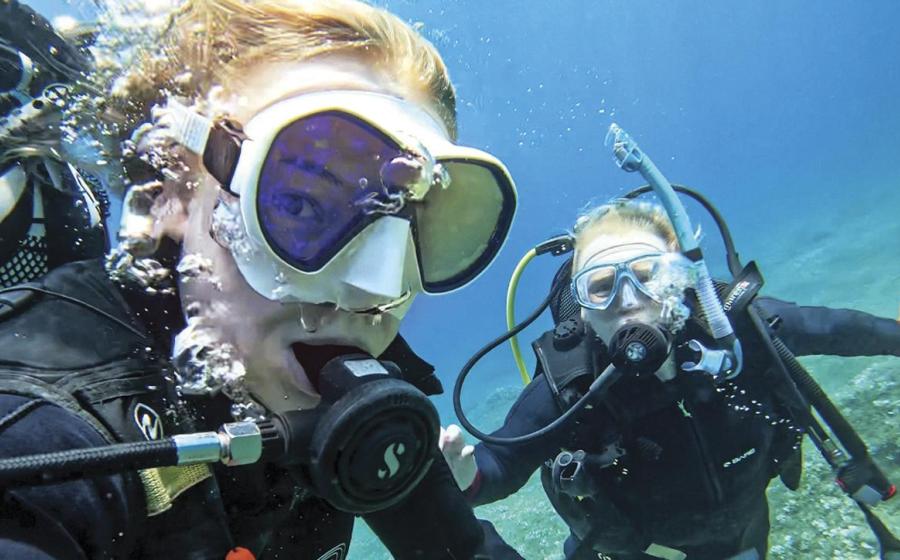
When water begins to leak into your mask, it is most likely because the seal you created between your mask skirt and skin has been broken. Keep your regulator in place and continue breathing. Remember the golden rule: Never hold your breath.
Inhale deeply through your regulator (in other words, through your mouth) and fill your lungs with air.
Using the palm of your hand, press the top part of your mask lens firmly to your forehead. By securing the mask at the top, you are making sure that the air you blow out of your nose will not simply bubble out at the top of your mask. "Pressing in at the top of the mask frame provides the seal needed for expelled air pressure to build up and force the water out the lower seal," says Bill Dausses, an 18-year PADI Instructor and the Dive Safety Officer at the Oklahoma Aquarium.
Sometimes, your natural inclination may be to move the bottom of the mask away from your face to allow the water to run out, but this only works when you're snorkeling at the surface and can lift your face above the surface. Underwater, if you break the lower seal between your mask and your face, all you’re doing is blowing bubbles out your nose into the ocean. Your mask will likely fill up with water again. Dausses says this can't be stressed enough. "I have my students practice standing up in waist-deep water with their mask on and regulator in the mouth, to get them into the habit of breathing in through the mouth and out through the nose," he says. "That way, they can feel the air pressure force the mask out. And it also gets them into that routine of 'in through the mouth, out through the nose.' Then you simply add pressing against the top frame to develop the routine and the skill."
- It usually helps to tilt your head back slightly, looking up while exhaling.
You can also use a two-handed technique as an alternate method — use your fingertips to secure the mask at the top and bottom of your lens(es), and then tilt your head back while exhaling through your nose.
Once the water is gone, press the mask to your face to ensure you still have a good seal.
If your mask has a built-in purge valve, all you have to do is secure the top seal and look downward as you exhale through the nose. The water inside the mask will be forced out through the purge valve as you exhale through the nose. (When you stop exhaling, the purge valve will seal closed.)
CLEARING A COMPLETELY FLOODED MASK
A major flood is not nearly as common as a partially flooded mask, but it does happen — current can rip a mask from your face or you can get hit in the face accidentally by a dive buddy’s fin. Whatever the reason, it’s important to stay calm and perform the skill just as you did kneeling at the bottom of the pool during your open water class.
If the mask has not completely come off, pull it up and over the top of your head to completely remove it. If you’re in current, make sure you hold it firmly. Stay calm — if you feel at all panicked, follow this calming mantra: Stop, Think and Act. If it’s practical, stop swimming so you can think through the solution and take care of the problem, or if it’s not (due to current or other reason), at least slow down. Concentrate on deep, slow breathing, which can help keep you calm and prevent any panic from escalating. Then move onto the the “think” step: Remember all the steps you learned in your open water class. Then “act” by taking the following steps to clear the mask.
Take a few breaths before replacing the mask. You can open your eyes or keep them closed — if you’re diving in the ocean, the saltwater can sting your eyes, so I prefer to keep mine closed. (If do you keep your eyes open and they are stinging after replacing your mask, blink a few times — your tears should help reduce the discomfort you feel.)
Position the mask on your face and begin clearing it by exhaling forcefully through the nose as you tilt your head back slightly. This is just like clearing a partially flooded mask: secure the top part of the mask while exhaling through your nose into the mask.
It may take a few tries to remove the water completely, so repeat this process, breathing in through your mouth and out through your nose, until you have cleared all the water.
Once the water is gone, press the mask to your face to ensure you have a good seal.
By following these steps, you’ll be able to clear a partially or completely flooded mask like a pro.
Related Reading: 8 Reasons to Learn to Dive in Florida
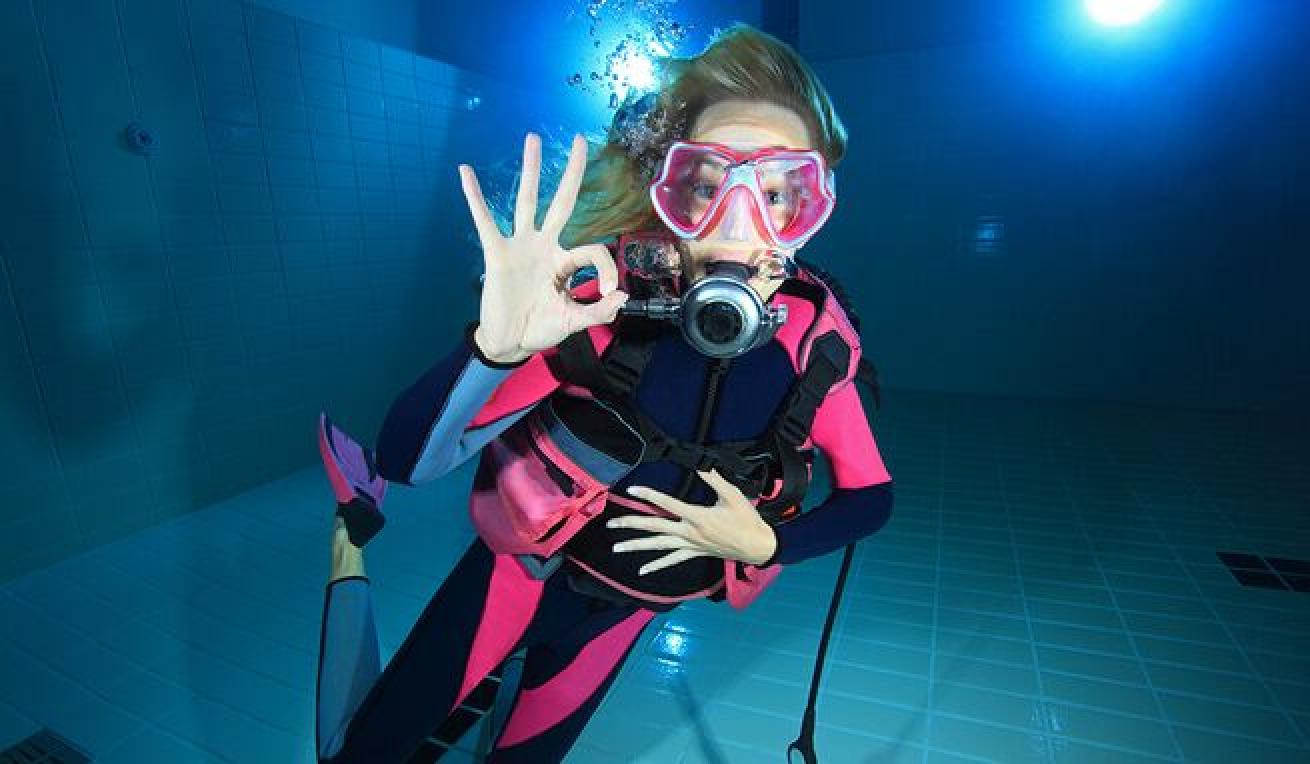
Aquapix/Shutterstock.comOnce you’ve cleared your mask, signal to your buddy that you’re “OK” and ready to continue the dive.
AVOID COMMON CAUSES OF A MASK FLOOD
There are some common causes for a leaky mask. Here’s what to avoid.
Once you’ve entered the water, make sure your mask is centered on your face and that the seal is still intact. With the mask in place and sealed on your face, run a finger along the seal to make sure no hair, mask strap or hood is preventing a good seal.
Secure your strap — if you’ve giant-stride in, it’s common for the mask strap to slip upward on your head. Make sure snorkel is in place as well.
Shave your mustache — facial hair above your upper lip can interfere with getting a good seal.
Just before descending, push the mask lens inward, forcing some air out and creating a good air pressure seal. Now you’re ready for your descent. Once under water, if the seal is sound, water pressure should take over and you should be good to go. At some point, you’ll probably want to nose-blow a little air back in to avoid getting mask squeeze as you go deeper.
Make sure your mask is properly centered on your face. If it’s not, you probably will break the seal once you start diving. Also, double-check the position of the strap on the back of your head. If it it's too high, it tends to lift the bottom of the skirt; if too low, it affects the top of the skirt. If it's too tight, it can distort the shape of the skirt — that can break the seal too.
Check the mask for any warping on the skirt. If you see any part of the mask that’s misshapen, it’s time to get a new mask.
By following these steps, hopefully you’ll reduce the number of times you have to clear your mask of water.
And remember: it does help to practice. Take your mask in the pool and repeat this skill until you’re completely comfortable clearing it. Another tip I got from a dive instructor that I found helpful as a beginner was to visualize various unexpected scenarios — like a dislodged mask, regulator or weight belt — and then to picture myself handling those situations calmly so that they wouldn’t snowball into a bigger problem.


